That deep ache in your legs the day after a big hike is a badge of honor, but it can also make climbing your own stairs feel like a mountain. Sore muscles, stiff joints, and heavy legs are all part of the game when you push yourself on the trail. The good news? You don’t have to just suffer through it.
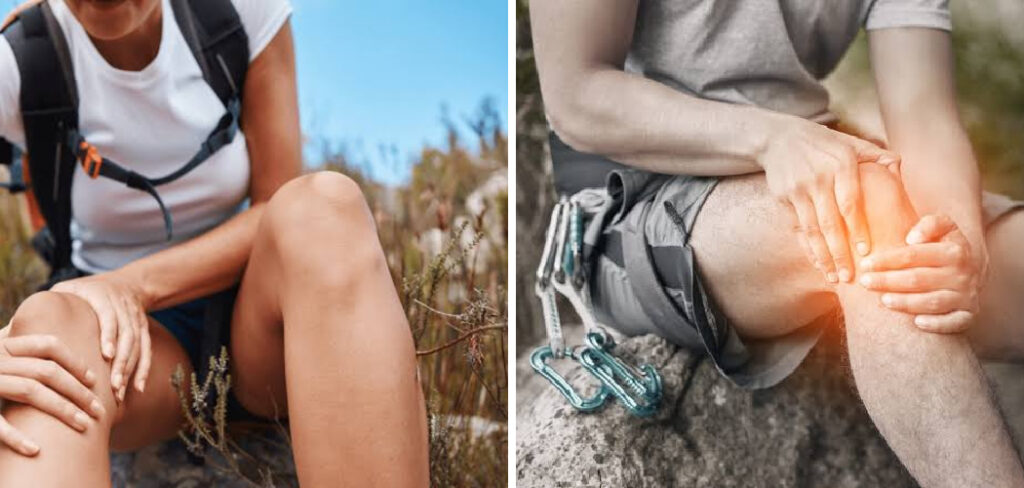
Learning how to recover from hiking soreness helps you bounce back faster, feel stronger, and get back outside sooner. Whether you tackled a steep summit or your very first long day hike, your body needs a little care afterward to heal well. This guide walks first-time hikers through simple, proven steps to ease muscle soreness, speed up post-hike recovery, and keep your body ready for the next adventure.
Why Recovering From Hiking Soreness Matters
Recovery isn’t a luxury; it’s part of hiking well. When you skip it, that muscle soreness lingers, your legs stay heavy, and your next trip feels harder than it should.
For campers and outdoor beginners, smart recovery builds momentum. Instead of dreading the stiffness that follows a long day, you learn to manage trail fatigue and keep hiking week after week without burning out.
Good recovery also protects you from injury. Tired, overworked muscles are more prone to strains and tweaks, so giving your body time and care lowers your risk on future outings.
Best of all, feeling fresh again keeps hiking fun. When you wake up mobile instead of miserable, you’re far more likely to lace up and head back to the trail with a smile.
Tools and Materials You’ll Need
You don’t need a fancy setup to recover well. A few simple items make the process smoother and faster. Gather these before or after your hike:
- A water bottle or hydration pack to replace fluids you sweated out
- Electrolyte tablets or drink mix to restore the salts your body lost
- A foam roller to loosen tight, knotted muscles
- Comfortable, loose clothing that won’t squeeze sore legs
- A protein-rich snack or meal to rebuild muscle tissue
- An ice pack or bag of frozen peas for any sharp aches or swelling
- Compression socks or sleeves (optional) to boost circulation and ease tired legs
That optional pair of compression socks is worth trying if your legs feel especially heavy. Many hikers slip them on during the drive home and feel a noticeable difference by evening.
8 Step-by-Step Guide on How to Recover From Hiking Soreness
Step 1 – Cool Down Before You Stop Moving
The recovery process starts before you even reach the trailhead parking lot. Instead of collapsing the moment you finish, slow your pace for the last five to ten minutes of your hike.
This gentle cooldown lets your heart rate drop gradually and keeps blood flowing to your working muscles. That steady circulation flushes out waste products that would otherwise settle in and stiffen your legs overnight.
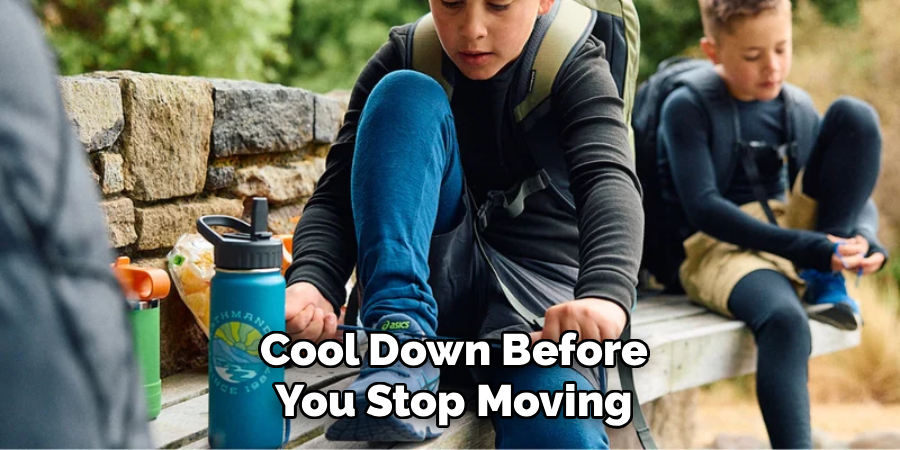
Feel your breathing ease and your stride soften as you walk it out. Learning how to recover from hiking soreness begins with this simple habit of easing off rather than slamming to a halt. A slow, mindful finish sets the tone for everything that follows and spares you the worst of that next-day tightness.
Step 2 – Rehydrate Right Away
Sweat drains far more than water from your body. As soon as you finish, reach for your bottle and start sipping steadily rather than gulping it all at once.
Along with plain water, replace the electrolytes you lost through sweat. Sodium, potassium, and magnesium keep your muscles firing properly, and running low on them makes cramps and soreness worse.
Feel the cool water spread through your dry, dusty mouth and notice how quickly your energy steadies. Add an electrolyte tablet or a salty snack to speed things along. Proper hydration is one of the easiest, most powerful tools for soreness relief, yet beginners often overlook it. Keep drinking gently over the next few hours, not just in one big rush.
Step 3 – Refuel With the Right Foods
Your muscles are hungry after a hard hike, and what you eat shapes how fast they heal. Aim to eat within an hour or two of finishing, while your body absorbs nutrients best.
Focus on a mix of protein and carbohydrates. Protein rebuilds the tiny muscle fibers you stressed on the trail, while carbs restock the energy your legs burned climbing.
Picture a warm bowl of chili at camp or a simple sandwich with lean meat and whole grain bread. That combination tastes even better after miles of effort, and it does real work beneath the surface. Skipping food to save time backfires, leaving your muscles undernourished and your recovery slower than it needs to be.
Step 4 – Stretch Your Tired Muscles
Once you’ve cooled down and eaten, give your muscles a gentle stretch. Focus on the big players that carried you: your calves, quads, hamstrings, hip flexors, and glutes.
Hold each stretch for twenty to thirty seconds, breathing slowly and never bouncing or forcing it. You want a mild pull, not sharp pain, so ease into each position and let the tension melt away.
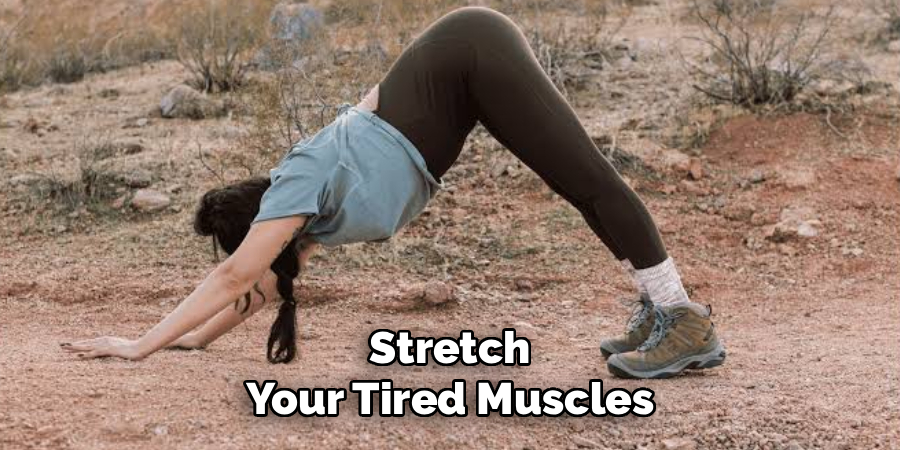
Feel your tight hamstrings slowly lengthen and your stiff calves release their grip. Gentle stretching improves flexibility and eases the muscle soreness that builds after a long day on your feet. Make this a calm, quiet ritual, maybe while your dinner cooks, and your legs will thank you when morning comes.
Step 5 – Roll Out the Knots
A foam roller is a hiker’s best friend for working out deep tightness. Lie down and slowly roll each major muscle group over the foam, pausing on any tender spots you find.
Take it slow and breathe through the discomfort. When you hit a knot, that tight little ball of tension, rest on it for a few seconds and let it gradually release.
The pressure feels intense at first, almost like a firm massage digging into sore tissue, but relief follows quickly. Foam rolling boosts blood flow and breaks up adhesions that keep muscles stiff. Spend just five to ten minutes on your legs after a hike, and you’ll notice looser, springier muscles the next day.
Step 6 – Use Cold and Warm Therapy
Temperature is a simple, effective recovery tool. If you have sharp aches or any swelling, apply an ice pack to the area for fifteen to twenty minutes to calm inflammation.
For general stiffness and tension, warmth works wonders instead. A hot shower, a warm bath, or even a soak in a natural spring relaxes tight muscles and soothes that deep, bone-tired feeling.
Feel the cold numb a throbbing knee or the heat unknot your aching shoulders. Some experienced hikers alternate between the two, using contrast therapy to pump fresh blood through their legs. Choose whichever matches your body’s signals that day, and give yourself permission to rest and enjoy the relief.
Step 7 – Try Gentle Active Recovery
Resting completely has its place, but light movement often heals faster. The day after a tough hike, add some gentle active recovery to loosen everything up.
Take a slow walk, do some easy stretching, or spin lightly on a bike. The goal is soft movement that pumps blood to sore muscles without stressing them further.
Notice how your stiff legs slowly wake up and feel less wooden after ten minutes of easy walking. Understanding how to recover from hiking soreness means knowing that stillness alone rarely fixes tight muscles. A little gentle motion clears out fatigue and speeds healing. Just keep the intensity low, listen to your body, and stop if anything feels sharp or wrong.
Step 8 – Prioritize Sleep and Rest
All your best recovery efforts pay off while you sleep. Deep rest is when your body repairs damaged muscle fibers and restores your energy for the next adventure.
Aim for seven to nine solid hours, especially the night after a big hike. Your muscles release growth hormones during deep sleep, doing the real rebuilding work you can’t force any other way.
Sink into your sleeping bag or bed and let the day’s effort fade. If you camped, a warm layer and a good pad make quality rest far easier. Never underestimate a full night of sleep as a recovery tool. Combined with the earlier steps, it’s the quiet finishing touch that leaves you fresh and ready.
Common Mistakes When Recovering From Hiking Soreness
Even careful beginners trip over a few predictable errors, and knowing them in advance saves you days of unnecessary stiffness.
The most common mistake is doing nothing at all. Plenty of new hikers finish a trail, plop onto the couch, and skip hydration, food, and stretching entirely. That total shutdown lets waste products settle and muscles seize up, leaving you far sorer than you need to be.
Another frequent error is under-hydrating. People sip a little water and call it good, forgetting they sweated out electrolytes too. Without replacing those salts, cramps and lingering soreness stick around long after the hike ends.
Many beginners also push too hard too soon. Eager to prove their fitness, they tackle another demanding hike before their muscles have healed. This stacks fatigue on top of fatigue and raises the risk of a real injury.
Finally, some hikers ignore their body’s warning signs. There’s a difference between normal muscle soreness and sharp, persistent pain. Treating a genuine strain like ordinary stiffness can turn a minor issue into a serious one, so learn to tell them apart and rest when your body demands it.
Expert Tips
Seasoned hikers lean on a few habits that make recovery almost automatic. Start rehydrating and snacking on the trail itself, not just after, so your body never falls into a deep deficit.
Keep your recovery gear ready in the car. A cold drink, a protein snack, and a fresh pair of compression socks waiting at the trailhead turn good intentions into real action.
Listen closely to the difference between muscle soreness and pain. Dull, widespread achiness is normal and fades with care, while sharp or one-sided pain deserves rest and attention.
Finally, build recovery into your routine rather than treating it as an afterthought. The hikers who bounce back fastest aren’t the toughest; they’re the ones who hydrate, eat, stretch, and sleep with consistency after every single trip.
Frequently Asked Questions
How long does hiking soreness usually last?
Most hiking soreness peaks around 24 to 48 hours after your hike, a pattern known as delayed onset muscle soreness, or DOMS. It typically fades within three to five days as your muscles repair. Good recovery habits like hydration, stretching, and gentle movement can shorten that window. If soreness lingers past a week or feels sharp, check in with a healthcare professional.
Should I rest completely or keep moving after a hard hike?
A mix works best. Full rest helps immediately after a tough day, but complete stillness for several days often keeps muscles stiff. Gentle active recovery, like an easy walk or light stretching, pumps blood to sore muscles and speeds healing. Listen to your body: rest when you feel wiped out, and add soft movement once the worst fatigue passes.
Do electrolytes really help with soreness?
Yes, they play a real role. When you sweat, you lose sodium, potassium, and magnesium along with water. Low electrolyte levels contribute to muscle cramps and can worsen that heavy, achy feeling. Replacing them through a drink mix, tablets, or salty foods helps your muscles function properly and supports faster recovery. Pair electrolytes with plain water for the best results after long or hot hikes.
Is foam rolling worth it for hikers?
Absolutely. Foam rolling increases blood flow, breaks up muscle tightness, and helps release those stubborn knots that form after long descents and climbs. Just five to ten minutes on your calves, quads, and glutes after a hike can noticeably loosen tired legs. It may feel intense on tender spots, so roll slowly and breathe. Regular use often means less next-day stiffness and quicker overall recovery.
When should I worry about hiking pain?
Normal soreness is dull, widespread, and improves each day. Worry when pain is sharp, sudden, focused on one spot, or accompanied by swelling that won’t ease. Pain that worsens instead of fading, or that stops you from walking normally, signals a possible strain or injury. In those cases, rest, ice, and see a medical professional rather than pushing through and risking longer-term damage.
Conclusion
Sore legs after a hike don’t have to sideline you for days. Start by cooling down instead of stopping cold, then rehydrate with water and electrolytes and refuel with protein and carbs while your body absorbs them best. Add gentle stretching and a few minutes of foam rolling to loosen tight muscles, use cold or warm therapy where it helps, and follow up with easy active recovery the next day. Above all, protect your sleep, because that’s when the real repair happens.
Don’t let a little stiffness discourage you from the trails you love. Every strong hiker feels the ache; they’ve simply learned to manage it and move on. Trust these steps, adjust them to what your own body needs, and be patient as you build the routine.
Once you understand how to recover from hiking soreness, you’ll bounce back faster, hike more often, and enjoy every trip without dreading the aftermath. Take care of your body, and it will carry you to countless more views. Rest well, refuel, and get ready for your next adventure.

About Caleb
Caleb Merritt is a Virginia-based outdoor writer and gear analyst who has spent over a decade sleeping on the ground, crossing mountain passes, and obsessively shaving grams off his pack weight. He holds a Bachelor of Science in Environmental Science from James Madison University, where he also served as president of the university’s outdoor recreation club. After graduating, he spent three years as a wilderness educator with a backcountry youth program in the Shenandoah Valley — teaching Leave No Trace ethics, backcountry navigation, and campcraft — before moving into full-time writing in 2018.
His work focuses on one core belief: the best gear is the gear you understand. Whether he’s doing a side-by-side weight comparison of ultralight shelters or writing a beginner’s guide to building a sub-20-lb base weight kit, Caleb writes with the same directness you’d expect from a trusted trail partner. He has logged more than 4,000 miles across iconic routes including the John Muir Trail, the Wind River Range, Vermont’s Long Trail, and the Collegiate Peaks Loop in Colorado.
Areas of Expertise
- Ultralight backpacking systems and base weight optimization
- Tent, tarp, and shelter testing across three-season and shoulder-season conditions
- Sleeping bag and quilt temperature rating verification
- Backpacking nutrition, meal planning, and calorie-per-ounce analysis
- Leave No Trace principles and wilderness ethics
- Campfire safety, bear country protocols, and water treatment methods
- Gear care, repair, and long-term durability assessment
Education
James Madison University — B.S. in Environmental Science, 2015
During his time at JMU, Caleb served as President of the Outdoor Recreation Club, where he planned and led more than 30 backcountry trips annually across the Blue Ridge Mountains and Appalachian Trail corridor. The role sharpened his ability to assess gear performance under real conditions, manage group safety in remote environments, and develop the kind of practical trail knowledge that no classroom can teach.
Professional Experience
Gear Writer & Senior Contributor — [campeox.com]
Produces in-depth gear reviews, buyer’s guides, and how-to content across backpacking, camping, and ultralight hiking categories. Tests all gear in real field conditions before publishing recommendations.
Wilderness Educator & Trip Leader — Shenandoah Backcountry Youth Program — 2015–2018 Led multi-day backcountry expeditions for teens and young adults throughout Shenandoah National Park and George Washington National Forest. Taught LNT principles, orienteering, first aid awareness, and campcraft fundamentals.
Outdoor Recreation Club President — James Madison University — 2013–2015 Organized and led university-sponsored hiking, backpacking, and camping trips in the Blue Ridge Mountains and Appalachian Trail corridor. Managed club budget, safety protocols, and trip logistics for a membership of 120+ students.
Editorial Standards
Every piece of gear Caleb recommends has been personally tested in the field — not just unboxed and described. His review process includes a minimum of two overnight trips per shelter, a full-season evaluation for sleep systems, and side-by-side comparisons wherever possible. He does not accept payment for positive reviews. Affiliate relationships, where they exist, are always disclosed in accordance with FTC guidelines.
All factual claims about gear specifications, trail distances, and safety recommendations are cross-referenced against manufacturer data sheets and established sources such as the Leave No Trace Center for Outdoor Ethics and the American Hiking Society before publication.