Standing at the base of a trail with your pack on, you want your legs to feel strong and your lungs to keep up. The last thing you need is to gasp for air at the first hill or nurse sore knees on the way down. That’s where knowing how to train your body for hiking makes all the difference.
The good news? You don’t need a gym membership or fancy equipment to get trail-ready. With a smart plan and a few weeks of consistent effort, you’ll build the endurance, leg strength, and stability that hiking demands. Your body adapts faster than you might expect.
This guide walks you step by step through building trail fitness from scratch, so you can hit the path feeling confident, capable, and ready for the views ahead.
Why Training Your Body for Hiking Matters
Hiking looks simple, but it asks a lot of your body. You’re carrying weight, climbing over uneven ground, and often gaining serious elevation for hours at a stretch. Without preparation, that adds up to blisters, aches, and burnout before lunch.
For campers and outdoor beginners, a little conditioning pays off big. Strong legs power you up steep climbs. Solid cardiovascular training keeps your breathing steady on long ascents. Good core stability protects your back when you shoulder a heavy pack.
Training also keeps you safe. Tired muscles lead to sloppy footing, and that’s how sprains and stumbles happen on rocky terrain. When your body is ready, you spend less energy fighting the trail and more time soaking in the scenery. That turns a grueling slog into a genuine adventure.
Tools and Materials You’ll Need
You can start training with almost nothing, but a few basics make the process smoother and more effective.
- A pair of supportive hiking boots or trail shoes to break in before your trip
- A backpack you can load with weight for training walks
- Comfortable, moisture-wicking workout clothes
- A water bottle to build good hydration habits early
- A set of stairs or a nearby hill for elevation practice
- A yoga mat for core and flexibility work at home
- A foam roller to help with rest and recovery between sessions
One optional item worth grabbing is a set of adjustable dumbbells or resistance bands. They let you build leg strength and target key muscles at home without heading to a gym, and you can scale the weight up as you get stronger.
7 Step-by-Step Guide on How to Train Your Body for Hiking
Building trail fitness comes down to steady, progressive effort across a few key areas. Follow these steps in order, and you’ll discover that learning how to train your body for hiking is far more approachable than it seems.
Step 1 – Start With Regular Walking
Before anything fancy, get your body used to being on its feet. Walking is the foundation of all hiking endurance, so lace up and head out several times a week.
Begin with 30-minute walks on flat ground, then gradually stretch them longer. Aim to feel your heart rate rise and a light sweat build without leaving you winded. Pay attention to how your feet feel inside your shoes, and notice any hot spots early.
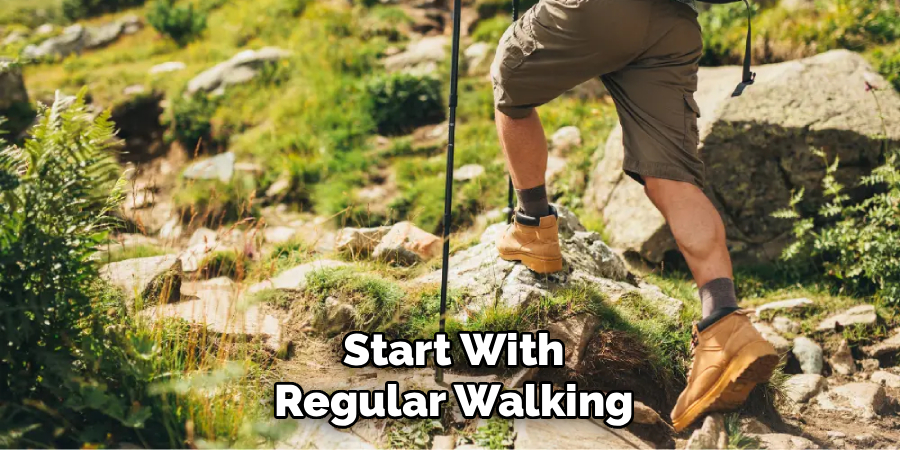
As the weeks pass, push toward 60- or 90-minute walks. This slow buildup teaches your muscles, joints, and mind to handle time on the trail. Consistency matters far more than intensity here, so keep showing up even when a walk feels ordinary.
Step 2 – Build Cardiovascular Training
Once walking feels easy, ramp up your cardiovascular training to prepare for those breath-stealing climbs. You want a strong engine that keeps steady over long distances.
Mix in activities that get your heart pumping harder, like jogging, cycling, or swimming. Two or three sessions a week of 30 to 45 minutes works well. On some days, push the pace until talking gets tricky, then ease back and recover.
This kind of interval effort mimics the stop-and-go rhythm of real hiking, where you power up a slope then catch your breath on a flat stretch. Over time, you’ll notice your breathing stays calmer on hills that once left you huffing. That steady lung power is what carries you through long trail days.
Step 3 – Strengthen Your Legs
Your legs do the heavy lifting on any hike, so dedicate real attention to leg strength. Squats, lunges, and step-ups are your best friends here, and you can do them right at home.
Start with bodyweight squats, sinking down as if settling into a chair, then driving back up through your heels. Feel the burn build in your thighs and glutes. Add lunges to work each leg on its own, which matters on uneven terrain.
Do these two or three times a week, aiming for two or three sets of ten to fifteen reps. As they get easier, hold dumbbells or wear your loaded pack. Powerful legs turn steep, exhausting climbs into a manageable, rewarding effort.
Step 4 – Practice Climbing Stairs and Hills
Nothing prepares you for elevation gain like actually climbing. Find a staircase, a stadium, or a nearby hill and make it part of your weekly routine.
Climb at a steady pace, letting your quads and calves feel the work. Focus on planting your whole foot and pushing through with control rather than rushing. Then walk back down slowly to train the muscles that handle descents, which is where many hikers feel the most soreness later.
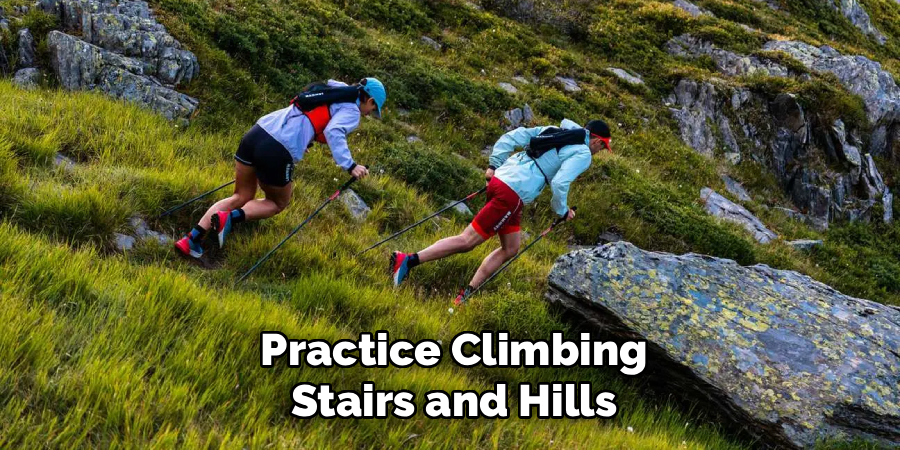
Try wearing your backpack with some weight for an added challenge. The rhythmic thud of your steps and the deep breaths that follow are exactly what you’ll experience on a real ascent. This practice builds both the muscle and the mental grit that steep trails demand.
Step 5 – Develop Core Stability
A strong core keeps you balanced and protects your spine, especially with a pack pulling at your shoulders. Core stability is the quiet hero of comfortable backpacking conditioning.
Add planks, bird dogs, and gentle twists to your routine a few times a week. Hold a plank with your body in a straight line, feeling your abs and lower back engage as you breathe steadily. Even 30 seconds makes a difference at first.
A stable midsection helps you stay upright when you cross a log, hop between rocks, or catch yourself on a slip. It also eases the strain that heavy loads put on your lower back. Strengthen this center, and your whole body moves with more control and confidence.
Step 6 – Train With Your Loaded Pack
Now bring it all together by training with the pack you’ll actually carry. Real backpacking conditioning means feeling that weight on your shoulders before you’re miles from the car.
Start light, maybe ten pounds, and take it on your regular walks. Adjust the hip belt so the load settles on your hips rather than digging into your shoulders. Notice how your balance shifts and how your legs work harder with each step.
Gradually add weight until you’re carrying close to what your trip requires. This step reveals hot spots, chafing, or fit problems while you can still fix them. Your body learns to move efficiently under load, so trip day feels familiar instead of shocking.
Step 7 – Prioritize Rest and Recovery
Training breaks your muscles down, but rest and recovery is when they rebuild stronger. Skip this, and you risk injury and burnout instead of progress.
Schedule at least one or two full rest days each week. On easier days, try gentle stretching or a slow walk to keep blood flowing without strain. Roll out tight calves and thighs with a foam roller, and you’ll feel the tension melt away.
Sleep is your secret weapon here, so aim for seven to nine solid hours a night. Drink plenty of water and eat enough protein to fuel repair. Treat recovery as a real part of the plan, not an afterthought, and your body will reward you on the trail.
Common Mistakes When Training Your Body for Hiking
Even eager beginners trip over a few predictable mistakes, and knowing them ahead of time saves you plenty of pain.
The biggest one is doing too much too soon. Excitement pushes people into long, brutal workouts in the first week, which leads straight to sore joints or a nagging injury. Your body needs a gradual buildup to adapt, so patience beats intensity every time.
Another frequent slip is ignoring downhill training. Everyone focuses on climbing, but descents pound your knees and quads just as hard. Skip that practice and you’ll pay for it on the way back down, when tired legs shake with every step.
Many beginners also forget to train with their actual pack. Walking around unloaded feels great, but adding twenty or thirty pounds changes everything about your balance and effort. Practice under real weight so trip day holds no surprises.
Finally, plenty of folks neglect rest and recovery. They train hard daily and wonder why they feel wiped out and weak. Muscles grow during rest, not during the workout, so those off days are doing important work behind the scenes.
Expert Tips
Break in your boots well before your trip by wearing them on every training walk. Fresh boots on a real hike are a recipe for blisters, and your feet will thank you for the early miles.
Train on terrain that resembles your goal. If you’re headed for rocky, uneven trails, seek out similar ground rather than sticking only to smooth pavement. Your ankles and stabilizer muscles adapt to what you practice.
Hydrate and fuel during long training sessions the same way you would on the trail. This teaches your stomach to handle food and water while you move.
Finally, keep a simple log of your workouts. Watching your walks get longer and your loads get heavier keeps motivation high and shows real, satisfying progress.
Frequently Asked Questions
How long does it take to get in shape for hiking?
Most beginners need about eight to twelve weeks of consistent training to feel ready for a challenging hike. If you’re already active, you might need less. Start with walking and cardio, then add strength and loaded pack work. The key is steady, gradual progress rather than cramming everything into a rushed final week before your trip.
Do I need a gym to train for hiking?
Not at all. Many effective exercises use just your body weight, like squats, lunges, planks, and stair climbs. Walking and hiking themselves are your best training tools. A loaded backpack adds resistance for free, and resistance bands or dumbbells help if you want extra strength work. Your living room, a staircase, and a local hill cover most of what you need.
What muscles should I focus on for hiking?
Focus on your legs first, since your quads, hamstrings, calves, and glutes power every step and climb. Your core matters next, because it keeps you balanced and protects your back under a pack. Don’t ignore your ankles and stabilizer muscles either, as they handle uneven terrain. A well-rounded routine that hits all these areas builds the strongest trail fitness.
How often should I train each week?
Aim for four to five active days per week, mixing walking, cardio, and strength work. Leave one or two days for rest and recovery, which is when your muscles actually rebuild. For example, you might walk three days, do strength training twice, and rest the remaining days. Listen to your body and scale back if you feel run down or sore.
Can I train for hiking if I’m out of shape?
Absolutely. Start slow with short, flat walks and build gradually from there. Your body adapts remarkably well when you give it consistent, manageable challenges. Add a little distance or intensity each week, and celebrate small wins along the way. Everyone begins somewhere, and steady effort turns even a total beginner into a capable hiker over a few months.
Conclusion
Getting your body ready for the trail isn’t about punishing workouts or overnight transformations. It’s about steady, thoughtful effort that builds real strength and endurance week by week. Now that you understand how to train your body for hiking, you can start with simple walks and grow into loaded climbs with confidence.
Remember the essentials that carry you far. Build your walking base, boost your cardiovascular training, and strengthen those hardworking legs. Add core stability, practice on hills, train with your actual pack, and always honor your rest and recovery days. Each piece works together to prepare you for whatever the trail throws your way.
Your first big hike will feel worlds easier when your body is truly ready for it. So lace up your boots, follow the plan, and trust the process. The mountains, forests, and sweeping views are waiting, and soon you’ll reach them feeling strong, steady, and eager for the next adventure. Start today, and let every step build toward the trails you’ve been dreaming about.

About Caleb
Caleb Merritt is a Virginia-based outdoor writer and gear analyst who has spent over a decade sleeping on the ground, crossing mountain passes, and obsessively shaving grams off his pack weight. He holds a Bachelor of Science in Environmental Science from James Madison University, where he also served as president of the university’s outdoor recreation club. After graduating, he spent three years as a wilderness educator with a backcountry youth program in the Shenandoah Valley — teaching Leave No Trace ethics, backcountry navigation, and campcraft — before moving into full-time writing in 2018.
His work focuses on one core belief: the best gear is the gear you understand. Whether he’s doing a side-by-side weight comparison of ultralight shelters or writing a beginner’s guide to building a sub-20-lb base weight kit, Caleb writes with the same directness you’d expect from a trusted trail partner. He has logged more than 4,000 miles across iconic routes including the John Muir Trail, the Wind River Range, Vermont’s Long Trail, and the Collegiate Peaks Loop in Colorado.
Areas of Expertise
- Ultralight backpacking systems and base weight optimization
- Tent, tarp, and shelter testing across three-season and shoulder-season conditions
- Sleeping bag and quilt temperature rating verification
- Backpacking nutrition, meal planning, and calorie-per-ounce analysis
- Leave No Trace principles and wilderness ethics
- Campfire safety, bear country protocols, and water treatment methods
- Gear care, repair, and long-term durability assessment
Education
James Madison University — B.S. in Environmental Science, 2015
During his time at JMU, Caleb served as President of the Outdoor Recreation Club, where he planned and led more than 30 backcountry trips annually across the Blue Ridge Mountains and Appalachian Trail corridor. The role sharpened his ability to assess gear performance under real conditions, manage group safety in remote environments, and develop the kind of practical trail knowledge that no classroom can teach.
Professional Experience
Gear Writer & Senior Contributor — [campeox.com]
Produces in-depth gear reviews, buyer’s guides, and how-to content across backpacking, camping, and ultralight hiking categories. Tests all gear in real field conditions before publishing recommendations.
Wilderness Educator & Trip Leader — Shenandoah Backcountry Youth Program — 2015–2018 Led multi-day backcountry expeditions for teens and young adults throughout Shenandoah National Park and George Washington National Forest. Taught LNT principles, orienteering, first aid awareness, and campcraft fundamentals.
Outdoor Recreation Club President — James Madison University — 2013–2015 Organized and led university-sponsored hiking, backpacking, and camping trips in the Blue Ridge Mountains and Appalachian Trail corridor. Managed club budget, safety protocols, and trip logistics for a membership of 120+ students.
Editorial Standards
Every piece of gear Caleb recommends has been personally tested in the field — not just unboxed and described. His review process includes a minimum of two overnight trips per shelter, a full-season evaluation for sleep systems, and side-by-side comparisons wherever possible. He does not accept payment for positive reviews. Affiliate relationships, where they exist, are always disclosed in accordance with FTC guidelines.
All factual claims about gear specifications, trail distances, and safety recommendations are cross-referenced against manufacturer data sheets and established sources such as the Leave No Trace Center for Outdoor Ethics and the American Hiking Society before publication.