

Hitting the open road in your motorhome offers ultimate freedom, but arriving at camp without a smaller car to explore local spots can feel incredibly limiting. Leaving your main rig parked while you run out for groceries or visit narrow mountain passes requires having a secondary transit option. Figuring out how to tow a vehicle behind an rv might seem like an intimidating task for a beginner, but it is entirely manageable with the correct approach.
Breaking down the process into clear, manageable actions ensures that your journey remains safe and enjoyable. You will discover exactly what equipment you need, the safety checks required, and the driving adjustments you must make. By mastering this skill, you protect both your family and your expensive equipment while maximizing the fun of your cross-country adventures.
Why You Need a Commuter Car on Your RV Trip
Traveling with a secondary car completely transforms your vacation experience. Motorhomes are fantastic for living, but they make terrible vehicles for quick errands or navigating dense urban environments. Packing up your entire campsite just to buy a gallon of milk or visit a local tourist attraction wastes precious relaxation time.
Having a smaller car unhitched at your destination allows you to zip around town effortlessly. Furthermore, it serves as a critical safety backup in case your main rig experiences mechanical failure. You will never find yourself stranded on the side of a remote highway without a way to seek help. Bringing a secondary mode of transportation provides incredible peace of mind, granting you the flexibility to explore deeply while keeping your primary living space anchored securely at your beautiful campsite.
Step-By-Step Guide on How To Tow A Vehicle Behind An RV
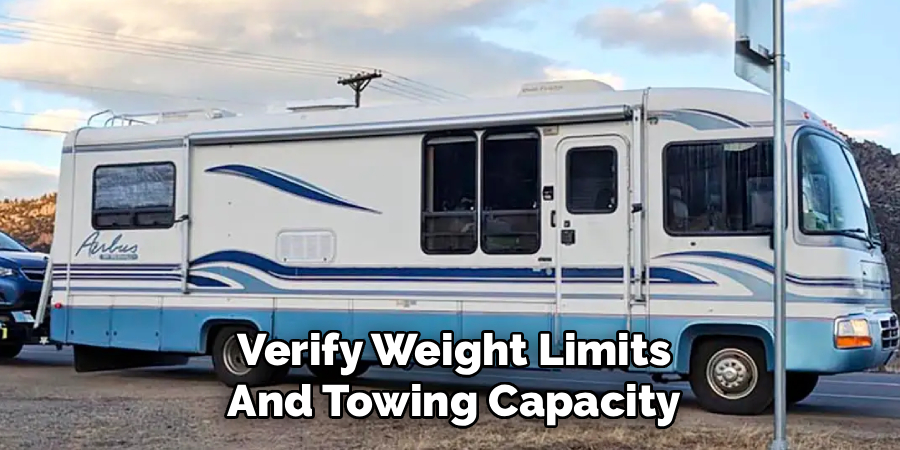
Step 1: Verify Weight Limits and Towing Capacity
Before attaching anything to your motorhome, you absolutely must verify your weight limits. Every rig comes with a specific maximum towing capacity determined by the manufacturer, which you can find in your owner’s manual. You must calculate the Gross Combined Weight Rating, which includes your fully loaded motorhome, the passengers, the cargo, and the secondary car itself.
Exceeding this limit places dangerous stress on your engine, transmission, and brakes. Furthermore, you need to ensure the car you plan to pull is legally and mechanically approved for the process. Certain transmissions will suffer catastrophic damage if pulled with all four wheels on the ground. Thoroughly researching your specific weights and vehicle requirements forms the critical foundation for a safe journey.
Step 2: Choose the Right Towing Method
You must decide on the best physical method for moving your car, as this dictates the rest of your setup. The most popular option involves flat towing, where all four wheels of the car roll directly on the pavement. This method requires specialized base plates installed on the car but offers the fastest connection times at the campsite. Alternatively, a tow dolly lifts the front wheels off the ground, which works well for front-wheel-drive vehicles. Finally, flatbed trailers keep the entire car completely off the road, protecting it from wear and tear. You should evaluate your physical strength, your storage space at the campground, and your budget when selecting the ideal method for your specific travel needs.
Step 3: Install the Essential Base Plate Hardware
If you choose the popular four-down method, you must install a custom base plate onto your secondary car. This sturdy piece of metal bolts directly to the frame of your car, providing the secure attachment points needed for the heavy-duty tow bar. Because this installation requires removing the front fascia and drilling into the chassis, you should strongly consider having a certified professional perform the work.
A poorly installed base plate creates a massive safety hazard for you and everyone sharing the highway. Professionals ensure every bolt is torqued exactly to factory specifications. Once installed properly, the base plate remains largely hidden behind your bumper, maintaining the aesthetic appeal of your car while offering incredible structural integrity.
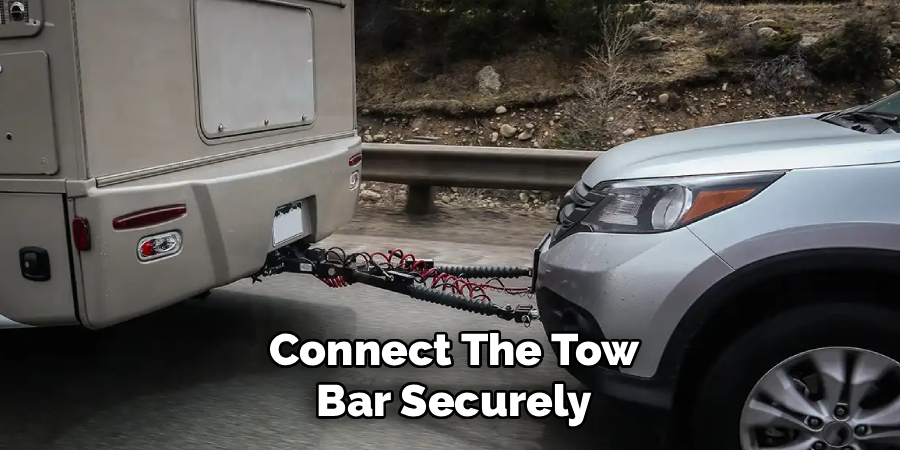
Step 4: Connect the Tow Bar Securely
The tow bar acts as the crucial physical bridge connecting your motorhome to your commuter car. You will insert the hitch end into the receiver on your motorhome and secure it with a heavy-duty locking pin. Then, you carefully extend the arms of the bar to meet the base plate on your car.
Understanding how to tow a vehicle behind an rv effectively requires mastering this physical connection. Most modern bars feature self-aligning and self-locking mechanisms, meaning you simply drive the car slightly backward until the arms click firmly into rigid positions. You must always double-check these locking mechanisms before hitting the highway. A secure, rigid connection prevents dangerous swaying and ensures the car tracks perfectly behind you.
Step 5: Attach the Safety Cables
Even the highest quality metal components can occasionally fail under extreme stress, making safety cables an absolute necessity. These thick steel cables serve as your critical backup system if the primary connection breaks. You must cross the cables under the connection point, creating a safety cradle that will catch the bar before it strikes the pavement.
Attach one end securely to the motorhome receiver and the other directly to the base plate loops on the car. You want enough slack in the cables to allow for sharp turns, but they should never drag on the road surface. Inspect these cables for any signs of fraying or rust before every single trip to guarantee their structural strength.
Step 6: Connect the Electrical Wiring Umbilical
Your secondary car must communicate its movements to other drivers on the road, which requires a functioning electrical connection. You will plug a heavy-duty wiring umbilical cord into the receptacle on your motorhome and run it to the corresponding plug on the front of your car. This essential cable synchronizes your brake lights, turn signals, and running lights perfectly. Driving without synchronized lighting drastically increases your risk of a rear-end collision. After making the connection, you must have a partner stand behind the setup to visually verify that all lights function correctly when you press the brake pedal or activate a turn signal. Never skip this vital electrical check, even for a short daytime trip.
Step 7: Setup the Auxiliary Braking System
Stopping a massive motorhome already demands significant braking power, and adding several thousand extra pounds drastically increases your stopping distance. You must install and activate an auxiliary braking system inside the towed car. This system physically depresses the brake pedal of the smaller car whenever you apply the brakes in the motorhome.
Many states and provinces legally require these auxiliary systems for heavy loads. Portable systems sit on the driver side floorboard and push the pedal via an air cylinder or electric motor. Permanent systems remain hidden under the hood and splice directly into the existing brake lines. Utilizing an auxiliary brake protects your motorhome brakes from overheating and significantly shortens your emergency stopping distance.

Step 8: Perform a Final Walk-Around Inspection
Before shifting into drive, you must perform a comprehensive visual and physical inspection of your entire setup. Walk slowly around the connection point, physically touching every pin, clip, and cable to ensure they are seated deeply and locked securely. Check the tire pressure on both vehicles to prevent catastrophic blowouts at highway speeds. Verify that the parking brake inside the secondary car is fully disengaged and the transmission rests in the exact gear dictated by the manufacturer for towing. Give the steering wheel of the towed car a slight wiggle to ensure it moves freely if required by your method. Taking five extra minutes for this thorough review prevents devastating accidents from occurring at high speeds.
Step 9: Adjust Your Driving Habits
Driving with a car trailing behind you requires a completely different mindset and heightened situational awareness. You must increase your following distance dramatically, leaving at least twice the normal gap between you and the traffic ahead. Taking corners requires swinging significantly wider to prevent the trailing car from clipping curbs or street signs. Most importantly, you must understand that reversing with a flat-towed car is virtually impossible without causing severe damage to the tow bar arms. You must constantly scan parking lots and gas stations to ensure you have a clear pull-through path before committing to a route. Adopting these cautious driving habits ensures a smooth, stress-free journey to your final camping destination.
Frequently Asked Questions
Q1: Can any car be flat towed behind a motorhome?
No, not every car can be flat towed. Vehicles with automatic transmissions usually require internal modifications, like a lube pump, to prevent severe transmission damage when the drive shaft turns without the engine running. Many manual transmission cars and specific four-wheel-drive vehicles with a manual transfer case are well-suited for this method. Always consult your vehicle’s owner manual before attempting any modifications.
Q2: Do I legally need an auxiliary braking system?
Legal requirements for auxiliary brakes vary heavily by state and province, usually depending on the total weight of the car you are pulling. However, from a safety perspective, you absolutely need one regardless of local laws. Auxiliary brakes drastically reduce your stopping distance, prevent extreme wear on your motorhome, and keep you safe during sudden highway emergencies.
Q3: How much does a complete towing setup cost?
A brand-new, high-quality setup typically costs between three thousand and five thousand dollars. This estimate includes the base plate, a premium tow bar, the electrical wiring components, safety cables, and a dependable auxiliary braking system. While the initial investment feels substantial, purchasing reliable, professional-grade equipment ensures your family stays safe and protects your expensive vehicles from damage.
Q4: Can I back up while my car is attached?
You should never attempt to back up while flat towing a vehicle. Reversing puts immense, unnatural pressure on the extended tow bar arms, which can instantly bend or snap the metal components. The front wheels of the trailing car will violently turn sharply, causing severe damage. You must always unhook the car completely before attempting any reversing maneuvers.
Q5: Will pulling a car ruin my fuel economy?
Adding several thousand pounds of extra weight will naturally decrease your overall fuel efficiency. Most drivers experience a drop of roughly one to two miles per gallon. Driving smoothly, maintaining a moderate highway speed, and keeping all tires perfectly inflated helps minimize this loss. The slight increase in fuel costs remains significantly cheaper than renting a separate commuter car.
Conclusion
Traveling with a secondary car completely revolutionizes your camping experience by granting you the freedom to explore local areas without uprooting your main campsite. We have covered the critical importance of checking your weight limits, selecting the appropriate hardware, and performing diligent safety checks before every departure.
Knowing how to tow a vehicle behind an rv opens up a world of convenience, allowing you to access remote trails and narrow city streets with ease. As long as you respect the equipment, double-check your connections, and adjust your driving habits to accommodate the extra length, you will navigate the highways with immense confidence. Start researching the perfect setup for your specific rig today, and enjoy the incredible flexibility that comes with bringing a commuter car on your next big adventure.
About Caleb
Caleb Merritt is a Virginia-based outdoor writer and gear analyst who has spent over a decade sleeping on the ground, crossing mountain passes, and obsessively shaving grams off his pack weight. He holds a Bachelor of Science in Environmental Science from James Madison University, where he also served as president of the university’s outdoor recreation club. After graduating, he spent three years as a wilderness educator with a backcountry youth program in the Shenandoah Valley — teaching Leave No Trace ethics, backcountry navigation, and campcraft — before moving into full-time writing in 2018.
His work focuses on one core belief: the best gear is the gear you understand. Whether he’s doing a side-by-side weight comparison of ultralight shelters or writing a beginner’s guide to building a sub-20-lb base weight kit, Caleb writes with the same directness you’d expect from a trusted trail partner. He has logged more than 4,000 miles across iconic routes including the John Muir Trail, the Wind River Range, Vermont’s Long Trail, and the Collegiate Peaks Loop in Colorado.
Areas of Expertise
- Ultralight backpacking systems and base weight optimization
- Tent, tarp, and shelter testing across three-season and shoulder-season conditions
- Sleeping bag and quilt temperature rating verification
- Backpacking nutrition, meal planning, and calorie-per-ounce analysis
- Leave No Trace principles and wilderness ethics
- Campfire safety, bear country protocols, and water treatment methods
- Gear care, repair, and long-term durability assessment
Education
James Madison University — B.S. in Environmental Science, 2015
During his time at JMU, Caleb served as President of the Outdoor Recreation Club, where he planned and led more than 30 backcountry trips annually across the Blue Ridge Mountains and Appalachian Trail corridor. The role sharpened his ability to assess gear performance under real conditions, manage group safety in remote environments, and develop the kind of practical trail knowledge that no classroom can teach.
Professional Experience
Gear Writer & Senior Contributor — [campeox.com]
Produces in-depth gear reviews, buyer’s guides, and how-to content across backpacking, camping, and ultralight hiking categories. Tests all gear in real field conditions before publishing recommendations.
Wilderness Educator & Trip Leader — Shenandoah Backcountry Youth Program — 2015–2018 Led multi-day backcountry expeditions for teens and young adults throughout Shenandoah National Park and George Washington National Forest. Taught LNT principles, orienteering, first aid awareness, and campcraft fundamentals.
Outdoor Recreation Club President — James Madison University — 2013–2015 Organized and led university-sponsored hiking, backpacking, and camping trips in the Blue Ridge Mountains and Appalachian Trail corridor. Managed club budget, safety protocols, and trip logistics for a membership of 120+ students.
Editorial Standards
Every piece of gear Caleb recommends has been personally tested in the field — not just unboxed and described. His review process includes a minimum of two overnight trips per shelter, a full-season evaluation for sleep systems, and side-by-side comparisons wherever possible. He does not accept payment for positive reviews. Affiliate relationships, where they exist, are always disclosed in accordance with FTC guidelines.
All factual claims about gear specifications, trail distances, and safety recommendations are cross-referenced against manufacturer data sheets and established sources such as the Leave No Trace Center for Outdoor Ethics and the American Hiking Society before publication.


