Hitting the open road in an RV offers ultimate freedom, but it also brings a few unique chores. If you feel overwhelmed by the thought of RV bathroom maintenance, you are not alone. Many new travelers dread this task, fearing strong odors and complicated plumbing. Fortunately, learning how to clean a camper toilet is easier than you might expect.
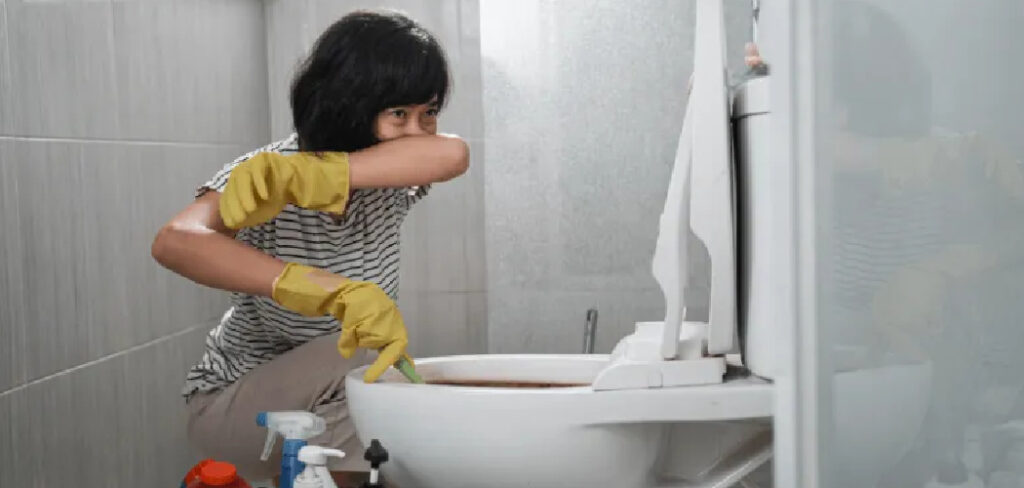
You do not need a plumbing degree or harsh chemicals to maintain a fresh space. With the right tools and a basic routine, you can eliminate odors and protect your holding tanks from damage. This guide breaks down the process into simple, manageable pieces. We will walk you through everything from gathering safe supplies to the final flush. Grab your gloves, and let us get your RV bathroom ready for the next adventure.
Why Regular RV Toilet Maintenance Matters
Keeping your RV bathroom spotless goes far beyond mere aesthetics. Unlike a standard home plumbing system, an RV relies on delicate seals, mechanical valves, and sensitive holding tanks. Ignoring regular maintenance can lead to hardened waste clogs, foul odors seeping into your living space, and permanent damage to the rubber seals holding the water in the bowl. When those seals dry out or crack, your bathroom quickly becomes a smelly nightmare. Regular upkeep ensures your waste breaks down properly and flows out of the black tank smoothly during dumping. By dedicating a few minutes to proper sanitation each trip, you extend the lifespan of your plumbing system and save yourself from expensive repair bills down the road.
7 Step-by-Step Guide on How to Clean a Camper Toilet
Step 1: Gather the Right Cleaning Supplies
Before you start scrubbing, you must gather RV-safe supplies. Standard household cleaners often contain bleach or harsh chemicals that quickly degrade the rubber seals inside your RV plumbing system. They can also destroy the good bacteria necessary for breaking down waste inside your black water holding tank.
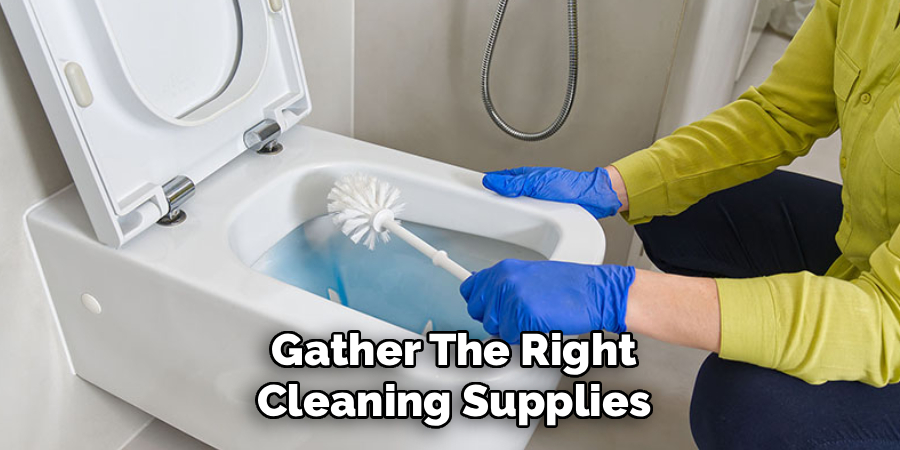
Instead, look for a specialized, non-abrasive liquid cleaner designed specifically for plastic bowls and sensitive seals. Grab a pair of thick rubber gloves, a soft-bristled brush, and some microfiber cloths. A silicone brush works perfectly because it cleans effectively without scratching the plastic surfaces. Having all your tools within reach makes the entire process faster and prevents you from dripping water across your camper floor while searching for a rag.
Step 2: Empty the Black Water Holding Tank
You will find the cleaning process much easier and far less smelly if you start with an empty system. Head to an approved dump station and connect your sewer hose securely to the RV outlet. Pull the black tank valve first to release all the stored waste and toilet paper. Once the black tank finishes draining, open the gray water valve to let the soapy shower and sink water flush out the sewer hose. Completely draining the system ensures that any fresh water or cleaning solutions you use upstairs will not cause an unexpected overflow. Always double-check your hose connections before pulling the valves to avoid an unpleasant spill at the campground.
Step 3: Apply the RV Safe Cleaning Solution
Once your holding tank is empty, step back inside the bathroom and prepare the bowl. Flush the pedal slightly to let a small amount of clean water fill the bottom of the basin. Take your non-abrasive liquid or foam cleaner and apply it generously around the top rim. Allow the solution to slide down the sides of the bowl naturally. Giving the cleaner five to ten minutes to sit allows it to break down hard water stains, mineral deposits, and lingering waste residue. Letting the product do the heavy lifting means you will not have to scrub as aggressively later. While you wait, keep the bathroom exhaust fan running to pull any chemical scents outside.
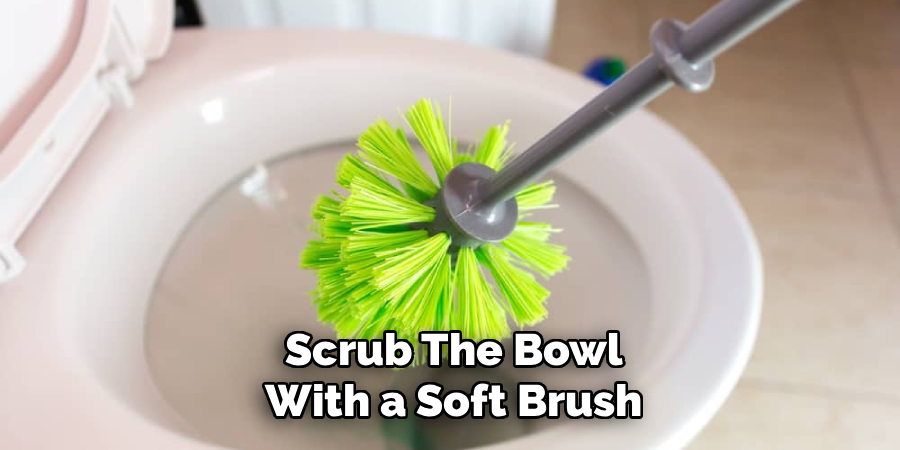
Step 4: Scrub the Bowl with a Soft Brush
Now that the cleaning solution has soaked into the grime, pick up your soft-bristled or silicone brush. Gently scrub the entire interior of the bowl, starting right under the rim and working your way down to the drain hole. Pay special attention to the area around the flush ball valve at the bottom, as waste and toilet paper often stick there. Never use a stiff wire brush or a pumice stone, as these will leave deep scratches in a plastic bowl. Scratches act as magnets for bacteria and waste, making future maintenance much harder. Work methodically until the plastic looks bright and feels completely smooth to the touch.
Step 5: Clean and Lubricate the Rubber Seal
The rubber seal at the bottom of the bowl is the most critical component of your RV plumbing system. It holds a small pool of water in the basin, which blocks black tank odors from rising into your living space. While holding the flush pedal down slightly to expose the seal, use a soft cloth or a gloved finger to wipe away any trapped grit. After wiping it clean, apply a generous coat of plumber’s grease or a specialized seal lubricant. Do not use petroleum jelly, as it causes the rubber to swell and deteriorate over time. A properly lubricated seal stays soft, prevents annoying water leaks, and blocks foul odors completely.
Step 6: Wipe Down the Exterior Surfaces
With the inside of the bowl shining, shift your focus to the outside of the unit. Spray a mild, multi-surface cleaner onto a microfiber cloth rather than spraying it directly onto the plastic. Wipe down the seat, the lid, the base, and the flush pedal or handle. Pay close attention to the hinges at the back of the seat, as dust and moisture tend to collect in these tight crevices. Cleaning the exterior removes airborne bacteria and ensures the entire bathroom smells fresh. Using a cloth prevents excess liquid from pooling around the base where it meets the floor, which could cause water damage or mold growth over time.
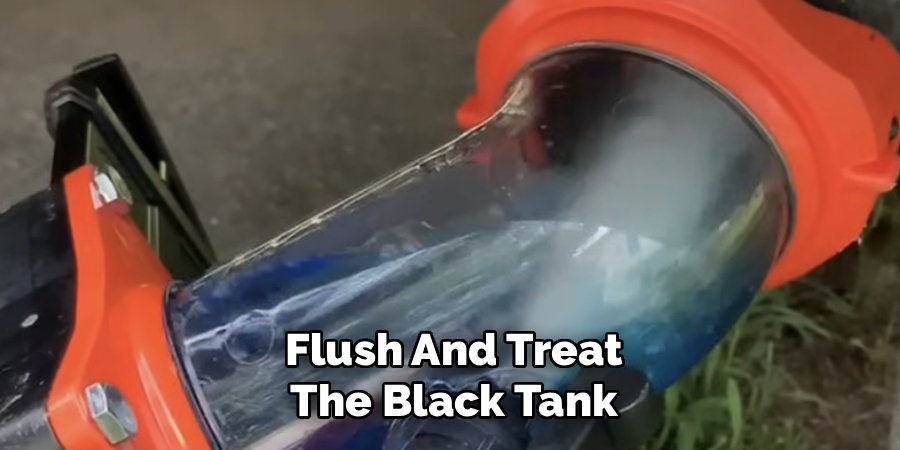
Step 7: Flush and Treat the Black Tank
The final step ensures your system stays fresh until your next camping trip. Press the pedal to flush the bowl completely, rinsing away all the dislodged grime and soapy residue. Allow the bowl to fill with a few inches of fresh water so the newly lubricated seal stays hydrated. Next, drop a holding tank treatment pod or pour a liquid treatment directly into the water and flush it down. These enzyme treatments break down future waste, digest regular toilet paper, and eliminate smells before they start. Finishing with a good tank treatment guarantees a pleasant environment for everyone inside the camper.
Frequently Asked Questions
Can I Use Regular Household Bleach In My RV Toilet?
You should never use regular household bleach in your RV plumbing system. Bleach is highly corrosive and will quickly dry out the rubber seals, leading to leaks and foul odors. Furthermore, bleach kills the beneficial bacteria inside your black tank that are necessary for breaking down solid waste. Always stick to enzyme-based or specialized non-abrasive cleaners to protect your system.
How Often Should I Clean My Camper Bathroom?
For full-time travelers, a thorough cleaning once a week works best to prevent odors and stains. If you only camp on the weekends, wiping down the bowl after each trip is sufficient.
- Deep clean the bowl and seals monthly.
- Empty and flush the black tank when it reaches two-thirds full.
- Lubricate the rubber seal twice a season.
Why Does My RV Toilet Smell Even After Cleaning?
Persistent odors usually indicate an issue beyond a dirty bowl. The most common culprit is a dry or damaged rubber seal that allows black tank gases to escape into the room. It could also mean your black tank needs a deep flush to remove built-up sludge. Verify that your roof vent pipe is clear of debris like leaves or bird nests.
What Kind Of Brush Is Safe For Plastic RV Bowls?
Plastic bowls scratch very easily, so you must avoid stiff nylon bristles or metal scrubbers.
- Use a silicone brush for gentle, effective scrubbing.
- Soft sponges or microfiber cloths work well for manual wiping.
- Avoid pumice stones entirely, as they permanently damage the plastic surface and create crevices for bacteria.
Can I Leave Water In The Bowl While Driving?
Yes, you should always leave a small amount of water in the bowl, even while in transit. This water barrier is essential for keeping black tank odors trapped below. Just keep the water level low—about an inch or two above the seal—so it does not splash out of the bowl when you hit bumps or take sharp turns on the highway.
Conclusion
Maintaining a fresh and fully functional RV bathroom does not require endless hours of scrubbing. By taking the time to gather the right non-abrasive supplies, treating your holding tanks, and protecting your rubber seals, you ensure a pleasant environment for every road trip. Remember that consistency is your best defense against tough stains and unwanted smells. Taking care of your plumbing system protects your investment and keeps your living space comfortable. Now that you know exactly how to clean a camper toilet, it is time to put these steps into action. Grab your gloves, pack your favorite RV-safe products, and head out on your next great camping adventure with total confidence.
About Caleb
Caleb Merritt is a Virginia-based outdoor writer and gear analyst who has spent over a decade sleeping on the ground, crossing mountain passes, and obsessively shaving grams off his pack weight. He holds a Bachelor of Science in Environmental Science from James Madison University, where he also served as president of the university’s outdoor recreation club. After graduating, he spent three years as a wilderness educator with a backcountry youth program in the Shenandoah Valley — teaching Leave No Trace ethics, backcountry navigation, and campcraft — before moving into full-time writing in 2018.
His work focuses on one core belief: the best gear is the gear you understand. Whether he’s doing a side-by-side weight comparison of ultralight shelters or writing a beginner’s guide to building a sub-20-lb base weight kit, Caleb writes with the same directness you’d expect from a trusted trail partner. He has logged more than 4,000 miles across iconic routes including the John Muir Trail, the Wind River Range, Vermont’s Long Trail, and the Collegiate Peaks Loop in Colorado.
Areas of Expertise
- Ultralight backpacking systems and base weight optimization
- Tent, tarp, and shelter testing across three-season and shoulder-season conditions
- Sleeping bag and quilt temperature rating verification
- Backpacking nutrition, meal planning, and calorie-per-ounce analysis
- Leave No Trace principles and wilderness ethics
- Campfire safety, bear country protocols, and water treatment methods
- Gear care, repair, and long-term durability assessment
Education
James Madison University — B.S. in Environmental Science, 2015
During his time at JMU, Caleb served as President of the Outdoor Recreation Club, where he planned and led more than 30 backcountry trips annually across the Blue Ridge Mountains and Appalachian Trail corridor. The role sharpened his ability to assess gear performance under real conditions, manage group safety in remote environments, and develop the kind of practical trail knowledge that no classroom can teach.
Professional Experience
Gear Writer & Senior Contributor — [Your Website Name]
Produces in-depth gear reviews, buyer’s guides, and how-to content across backpacking, camping, and ultralight hiking categories. Tests all gear in real field conditions before publishing recommendations.
Wilderness Educator & Trip Leader — Shenandoah Backcountry Youth Program — 2015–2018 Led multi-day backcountry expeditions for teens and young adults throughout Shenandoah National Park and George Washington National Forest. Taught LNT principles, orienteering, first aid awareness, and campcraft fundamentals.
Outdoor Recreation Club President — James Madison University — 2013–2015 Organized and led university-sponsored hiking, backpacking, and camping trips in the Blue Ridge Mountains and Appalachian Trail corridor. Managed club budget, safety protocols, and trip logistics for a membership of 120+ students.
Editorial Standards
Every piece of gear Caleb recommends has been personally tested in the field — not just unboxed and described. His review process includes a minimum of two overnight trips per shelter, a full-season evaluation for sleep systems, and side-by-side comparisons wherever possible. He does not accept payment for positive reviews. Affiliate relationships, where they exist, are always disclosed in accordance with FTC guidelines.
All factual claims about gear specifications, trail distances, and safety recommendations are cross-referenced against manufacturer data sheets and established sources such as the Leave No Trace Center for Outdoor Ethics and the American Hiking Society before publication.