

Getting ready for a road trip is incredibly exciting, but hitting the highway in a dirty motorhome is less than ideal. If you are new to recreational vehicle ownership, figuring out how to clean camper surfaces might feel like a massive chore. Between the towering roof, the expansive side panels, and the cozy living quarters inside, the job can easily seem overwhelming. However, keeping your home-on-wheels spotless does not require magic or expensive professional services.
With a straightforward approach and the right tools, anyone can achieve a brilliant shine. Breaking the process down into manageable chunks makes the workload much lighter. By setting aside a single afternoon, you can restore your rig to its original glory. Grab your bucket and sponge, because we are going to walk through the entire process from top to bottom.
Why Regular RV Maintenance Matters
You might wonder why taking the time to wash your motorhome is so important. Aside from making your rig look fantastic at the campground, regular washing actually protects your investment. Road grime, tree sap, bug splatters, and bird droppings are highly acidic. If you leave these elements sitting on the exterior paint or decals for too long, they will cause permanent damage. Furthermore, dirt and debris trapped around seals and slide-outs can lead to leaks over time.
Taking care of the inside is just as crucial. Lingering moisture or food crumbs can invite pests and mold, which quickly ruin the air quality in your small living space. Regular upkeep ensures your vehicle stays safe, smells fresh, and holds its resale value for years to come. Routine maintenance simply saves you money in the long run.
9 Step-By-Step Guide on How To Clean Camper Interiors And Exteriors
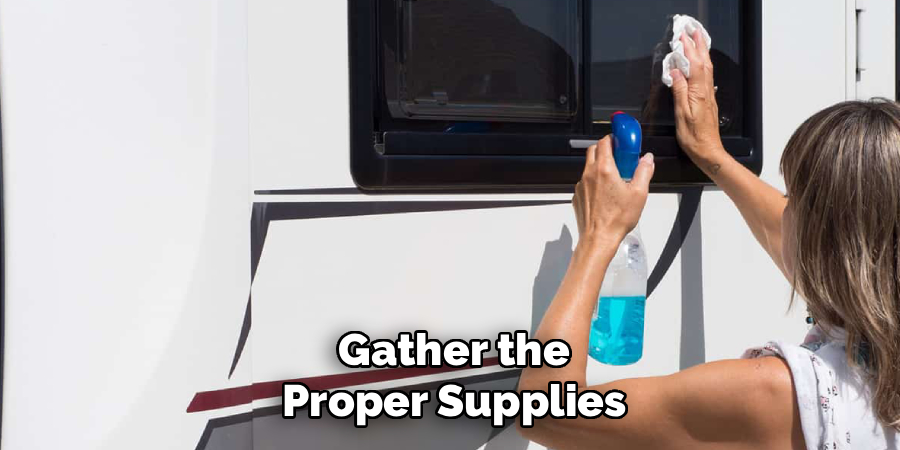
Step 1: Gather the Proper Supplies
Before you start spraying water everywhere, you need to collect all your materials in one place. Running back and forth to the garage wastes valuable time and energy. You will want a sturdy extension ladder to safely reach the higher areas of your rig. Gather a few large buckets, a soft-bristled brush attached to a telescoping handle, and several microfiber towels. Make sure you purchase a wash solution specifically designed for recreational vehicles, as standard dish soap strips away protective wax and dries out rubber seals. Inside, grab a reliable glass cleaner, a gentle all-purpose surface spray, and a vacuum cleaner with hose attachments. Having your supplies organized right from the start ensures a smooth, frustration-free workflow.
Step 2: Wash the Roof First
Gravity is your best friend when washing any large vehicle. You must always start at the very top so that dirty water does not run down over sections you just finished scrubbing. Carefully climb your ladder and sweep away any loose leaves, pine needles, or branches. Wet the roof down completely using a standard garden hose. Apply your specialized rubber roof wash with your long-handled brush, working in manageable three-foot sections. Scrub gently to lift stubborn dirt, then immediately rinse the area before the soap has a chance to dry in the sun. Take extra care around the air conditioning unit, vents, and skylights, ensuring you do not force water underneath the protective caulking.
Step 3: Scrub the Exterior Walls
Once the top is completely rinsed, move down to the exterior walls. Work your way from the front cap to the back bumper, focusing on one side at a time. Dip your soft-bristled brush into your soapy bucket and wash from the top down to prevent streaking. For areas with heavy bug splatters, let the soapy water sit for a few minutes to soften the debris before scrubbing. Avoid applying too much pressure over vinyl decals, as aggressive brushing can cause the edges to peel or chip. Rinse each section thoroughly with your hose immediately after washing. Towel dry the walls with clean microfiber cloths to prevent hard water spots from forming.
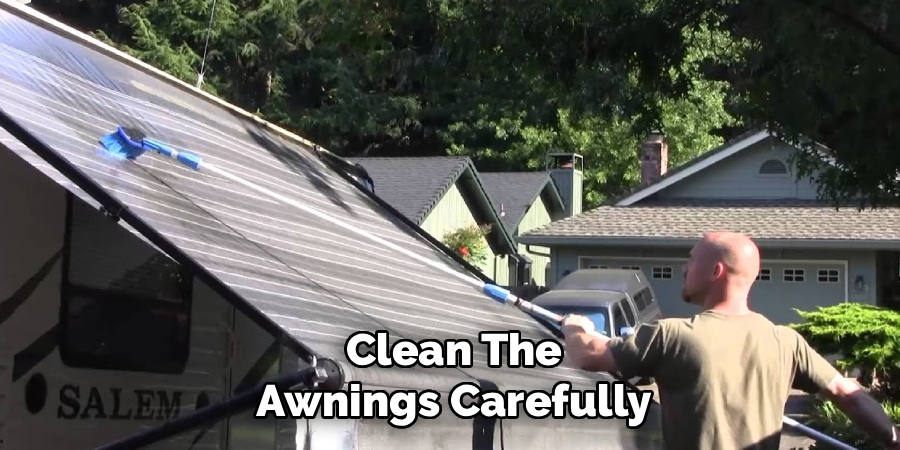
Step 4: Clean the Awnings Carefully
People often ask about how to clean camper awnings without causing accidental damage or tearing the fabric. Roll out your awning completely and lower one side slightly so water can easily drain off. Spray both the top and bottom with a specialized fabric or vinyl cleaner. Use your telescoping brush to gently agitate the surface, loosening trapped dirt, pollen, and mildew. If the stains are particularly stubborn, roll the awning back up for about fifteen minutes. This trick allows the cleaning solution to soak deeply into the fabric layers without drying out. Finally, extend the awning again, rinse it thoroughly with clean water, and leave it open until it is completely dry to prevent mold growth.
Step 5: Tackle the Tires and Wheels
Your tires and wheels encounter the most road dirt, brake dust, and mud, so they require special attention. Use a separate bucket and brush for this step, as you never want to transfer abrasive brake dust onto your painted exterior walls. Spray a dedicated wheel cleaner onto the rims and let it penetrate the grime for a minute or two. Scrub the rubber sidewalls vigorously with a stiff brush to remove embedded dirt. Rinse everything completely with your hose. To keep the rubber supple and protected from harsh ultraviolet rays, apply a quality tire dressing once the wheels are completely dry. This simple finishing touch gives your rig a professional, showroom-quality appearance.
Step 6: Empty and Sanitize the Holding Tanks
Transitioning to the interior systems, your first priority should always be the holding tanks. Nobody wants lingering odors ruining their vacation. Connect your sewer hose and empty the black water tank first, followed immediately by the gray water tank. The soapy gray water helps flush out any remaining solid waste from the hose. Use the built-in flush system if your motorhome has one, or use a flushing wand directly down the toilet to clear away stuck paper. Once empty, add a few gallons of fresh water back into the tanks along with a high-quality drop-in enzyme treatment. This breaks down future waste and leaves your plumbing system smelling incredibly fresh.
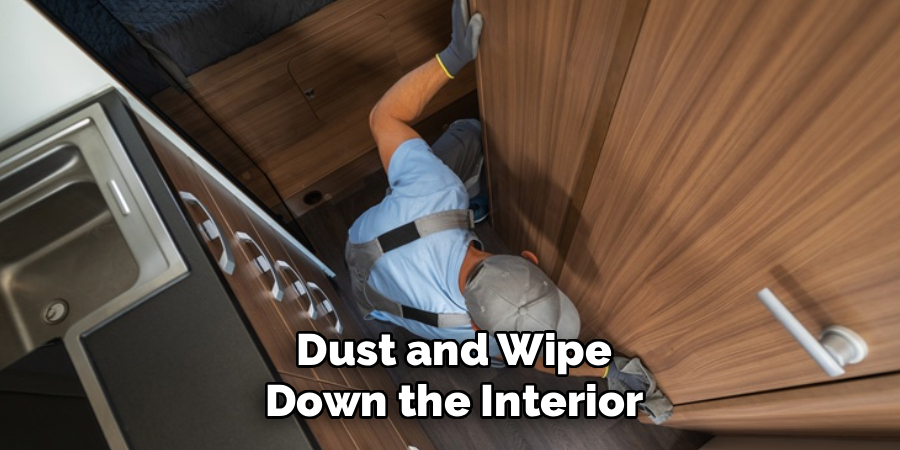
Step 7: Dust and Wipe Down the Interior
Now you can step inside to tackle the living quarters. Start by opening the windows to let some fresh air circulate. Use a dry microfiber cloth to dust all hard surfaces, starting from the ceiling vents and upper cabinets, working your way down to the counters and tables. Spray a gentle all-purpose cleaner on your kitchen counters, dining table, and sink area, wiping away cooking grease and fingerprints. Do not forget to wipe down the dashboard, steering wheel, and front seating area if you are driving a motorized vehicle. Pay close attention to the tracks of your windows and slide-outs, brushing out any dead bugs or dust bunnies that have gathered.
Step 8: Deep Clean the Bathroom Area
The bathroom in a recreational vehicle is small, but it requires thorough sanitization. Because these spaces suffer from poor ventilation and high humidity, mold can develop quickly. Use a non-abrasive bathroom spray for the shower surround, taking care not to scratch the plastic or fiberglass walls. Wipe down the mirror, the small sink basin, and the vanity counter. For the toilet, use a silicone brush rather than a harsh bristle brush, which can easily scratch the plastic bowl. Ensure you clean around the rubber seal at the base of the toilet flap, applying a little plumber’s grease to keep it fully lubricated and watertight.
Step 9: Sweep and Mop the Floors
Save the floors for your absolute final step, as dirt and dust from the ceiling and counters will have settled on the ground. Use a broom to sweep dirt out the front door, making sure to reach under the dining booth and around the base of the bed. If you have carpeted sections, go over them slowly with a vacuum cleaner to pull up embedded sand. Finally, lightly mop the hard flooring surfaces with a mild floor cleaner. Avoid using excessive amounts of water, as heavy moisture can warp the flooring or seep into the subfloor over time. Leave the door open for a few minutes to let the floor dry completely.
Frequently Asked Questions
What is the best soap to use on the exterior?
You should always use a dedicated RV or automotive wash soap. Avoid using common household products like dish soap or laundry detergent.
- Dish soap strips away the protective wax coating.
- Household detergents can dry out rubber window seals.
- Specialty vehicle washes are pH-balanced to safely lift dirt without damaging the clear coat or peeling the exterior vinyl graphics.
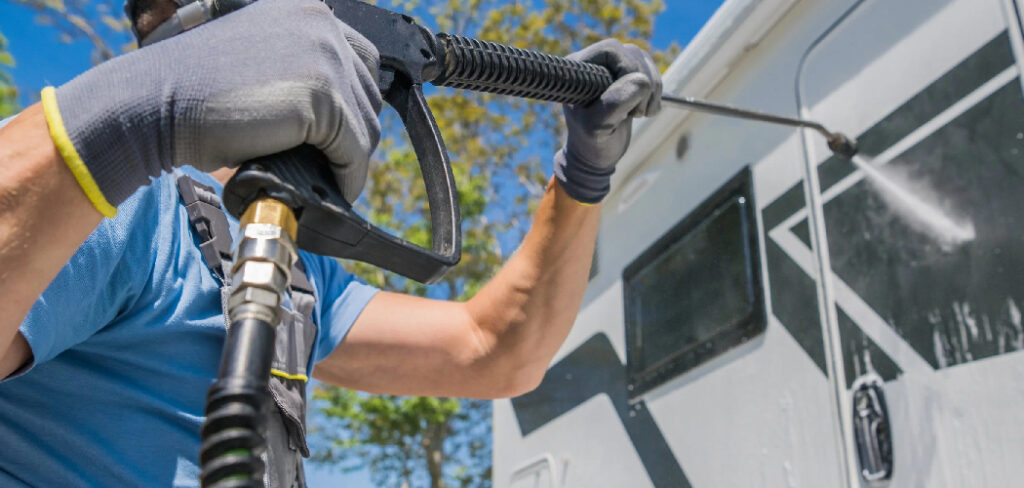
Can I use a pressure washer on the outside?
While a pressure washer speeds up the process, you must use it with extreme caution. High-pressure water can easily cause severe damage.
- It can rip away exterior decals and graphics.
- It can force water behind window seals and caulking, causing hidden leaks.
- If you must use one, keep the nozzle at least two feet away and use a low-pressure, wide-fan tip.
How often should I wash the roof?
You should inspect and wash the top of your motorhome at least three to four times a year.
- Wash it at the beginning of the camping season.
- Wash it before placing it in winter storage.
- Frequent washing prevents tree sap and bird droppings from eating through the protective rubber coating.
What prevents black streaks on the side panels?
Black streaks occur when dirt and chalky residue wash off the roof and run down the sides of the vehicle after a rainstorm.
- Keep the roof meticulously clean to stop the streaks at the source.
- Ensure your gutters and drip spouts are clear of debris.
- Apply a good quality wax to the side walls, which prevents dirt from bonding to the fiberglass.
How do I remove mold from the fabric awning?
Mold thrives when an awning is rolled up while still wet from morning dew or recent rain.
- Mix a solution of specialized mildew stain remover and water.
- Spray it generously over the affected areas.
- Roll the awning up for twenty minutes to let the solution soak.
- Unroll, scrub lightly, and rinse thoroughly until the water runs completely clear.
Conclusion
Keeping your motorhome sparkling does not have to be an exhausting chore that ruins your weekend. By breaking the process down into simple, manageable steps, you can maintain a beautiful rig that is always ready for the next adventure. Consistent maintenance protects your vehicle from the elements, prevents costly water damage, and ensures your living space remains a healthy, comfortable environment for your family. Now that you know exactly how to clean camper vehicles properly, it is time to grab your supplies and head outside. Roll up your sleeves, put on some good music, and take pride in giving your beloved home-on-wheels the care it deserves!
About Caleb
Caleb Merritt is a Virginia-based outdoor writer and gear analyst who has spent over a decade sleeping on the ground, crossing mountain passes, and obsessively shaving grams off his pack weight. He holds a Bachelor of Science in Environmental Science from James Madison University, where he also served as president of the university’s outdoor recreation club. After graduating, he spent three years as a wilderness educator with a backcountry youth program in the Shenandoah Valley — teaching Leave No Trace ethics, backcountry navigation, and campcraft — before moving into full-time writing in 2018.
His work focuses on one core belief: the best gear is the gear you understand. Whether he’s doing a side-by-side weight comparison of ultralight shelters or writing a beginner’s guide to building a sub-20-lb base weight kit, Caleb writes with the same directness you’d expect from a trusted trail partner. He has logged more than 4,000 miles across iconic routes including the John Muir Trail, the Wind River Range, Vermont’s Long Trail, and the Collegiate Peaks Loop in Colorado.
Areas of Expertise
- Ultralight backpacking systems and base weight optimization
- Tent, tarp, and shelter testing across three-season and shoulder-season conditions
- Sleeping bag and quilt temperature rating verification
- Backpacking nutrition, meal planning, and calorie-per-ounce analysis
- Leave No Trace principles and wilderness ethics
- Campfire safety, bear country protocols, and water treatment methods
- Gear care, repair, and long-term durability assessment
Education
James Madison University — B.S. in Environmental Science, 2015
During his time at JMU, Caleb served as President of the Outdoor Recreation Club, where he planned and led more than 30 backcountry trips annually across the Blue Ridge Mountains and Appalachian Trail corridor. The role sharpened his ability to assess gear performance under real conditions, manage group safety in remote environments, and develop the kind of practical trail knowledge that no classroom can teach.
Professional Experience
Gear Writer & Senior Contributor — [campeox.com]
Produces in-depth gear reviews, buyer’s guides, and how-to content across backpacking, camping, and ultralight hiking categories. Tests all gear in real field conditions before publishing recommendations.
Wilderness Educator & Trip Leader — Shenandoah Backcountry Youth Program — 2015–2018 Led multi-day backcountry expeditions for teens and young adults throughout Shenandoah National Park and George Washington National Forest. Taught LNT principles, orienteering, first aid awareness, and campcraft fundamentals.
Outdoor Recreation Club President — James Madison University — 2013–2015 Organized and led university-sponsored hiking, backpacking, and camping trips in the Blue Ridge Mountains and Appalachian Trail corridor. Managed club budget, safety protocols, and trip logistics for a membership of 120+ students.
Editorial Standards
Every piece of gear Caleb recommends has been personally tested in the field — not just unboxed and described. His review process includes a minimum of two overnight trips per shelter, a full-season evaluation for sleep systems, and side-by-side comparisons wherever possible. He does not accept payment for positive reviews. Affiliate relationships, where they exist, are always disclosed in accordance with FTC guidelines.
All factual claims about gear specifications, trail distances, and safety recommendations are cross-referenced against manufacturer data sheets and established sources such as the Leave No Trace Center for Outdoor Ethics and the American Hiking Society before publication.


