Getting back from a thrilling camping trip leaves you with great memories and a massive pile of gear to put away. Taking proper care of your equipment ensures it stays ready for your next big outdoor adventure. One of the most critical maintenance skills you can learn is how to store sleeping bags properly.
Many beginners make the simple mistake of stuffing their cozy gear tightly into a small travel sack and forgetting about it until the next camping season. Doing this damages the delicate internal insulation, leaving you shivering on your next chilly night under the stars. By taking a few extra minutes to clean, dry, and pack your gear the right way, you extend its overall lifespan significantly. We created this beginner-friendly guide to help you protect your investment and keep your equipment fluffy, warm, and fresh.
Why Proper Storage Matters For Your Gear
You might wonder why you cannot just toss your camping gear into the closet and call it a day. Sleeping gear relies heavily on “loft,” which simply refers to the fluffiness of the insulation packed inside the material. Whether you own a down feather or synthetic model, this crucial loft traps your body heat to keep you warm throughout the night.
Compressing this material for long periods crushes the inner fibers and permanently breaks down the delicate clusters. Moisture also plays a massive role in gear degradation over time. Storing damp fabrics invites mold, mildew, and unpleasant odors that become nearly impossible to remove. Taking the time to care for your equipment protects its thermal efficiency and saves you quite a bit of money. You will not have to buy a replacement every few years when you maintain the original quality through smart, consistent habits.
7 Step-by-Step Guide on How To Store Sleeping Bags
Step 1: Unpack and Shake Out Your Gear
When you arrive home from your outdoor adventure, immediately take your sleeping equipment out of its tight transport sack. Give the fabric a vigorous shake to remove loose dirt, pine needles, crumbs, or debris collected inside the tent. Doing this fluffs up the compressed insulation and allows trapped body moisture to escape into the open air.
Hang the item over a sturdy chair or an indoor clothesline for at least twenty-four hours. This vital airing-out phase prevents lingering camping odors from setting deep into the synthetic fibers or down feathers. You want to ensure the material breathes fully before you move on to any cleaning or packing stages. Rushing this initial phase often traps unseen dampness deep inside the core, which ruins the fabric over time.
Step 2: Spot Clean Any Visible Dirt
Before you put your gear away for the season, carefully inspect the outer fabric for minor stains, sticky sap, or dirt smudges. You rarely need to wash the entire item after every single camping trip. Instead, mix a gentle solution of mild soap and warm water in a small kitchen bowl.
Dip a clean sponge or a soft cloth into the soapy water and gently dab the stained areas. Scrubbing too hard damages the outer water-resistant shell, so use a light touch to lift the surface grime. Once you remove the spot, wipe the area with a damp cloth to rinse away any remaining soap residue. Let these cleaned spots air dry completely before moving on. Spot cleaning preserves the delicate loft by minimizing full submersion in water.
Step 3: Wash Thoroughly if Needed
Sometimes your gear smells heavily of campfire smoke or feels excessively greasy after a long backpacking season. When spot cleaning simply is not enough to refresh the fabric, you must wash the entire item. Always check the manufacturer care label first, but generally, you should use a front-loading washing machine on a gentle cycle.
Avoid standard top-loading machines with central agitators, as these easily catch and tear the fragile external seams. Use a specialized cleaner designed specifically for outdoor insulation rather than standard laundry detergent. Regular home detergents leave behind a harsh residue that strips away natural protective oils and clumps the filling. Run an extra rinse cycle to guarantee no soapy water remains trapped inside the thick inner baffles.
Step 4: Dry Completely to Prevent Mildew
Drying your equipment correctly is arguably the most critical part of the entire maintenance process. Even a tiny amount of leftover moisture quickly breeds mold and destroys the fabric from the inside out. Place the freshly washed item into a large commercial dryer on the lowest heat setting available.
Toss in three to four clean tennis balls or specialized drying spheres to help break up any clumps of wet insulation. This gentle bouncing action restores the crucial loft as the fabric tumbles dry inside the machine. Check on it every twenty minutes to ensure the nylon shell does not overheat or melt against the hot metal drum. This drying process takes a few hours, but your patience ensures maximum warmth for your next trip.
Step 5: Choose a Cool and Dry Location
Finding the perfect storage environment inside your home greatly impacts how well your equipment survives the off-season. You need a dedicated space that remains consistently cool, dark, and dry throughout the entire year. Avoid storing your valuable outdoor equipment in damp basements, uninsulated attics, or outdoor sheds where temperatures fluctuate wildly. High heat permanently damages the synthetic fibers, while excess humidity invites mildew to grow rapidly across the fabric.
A climate-controlled bedroom closet or an under-bed storage area provides the ideal stable conditions. Keeping the material away from direct sunlight also prevents harmful ultraviolet rays from fading the nylon shell and weakening the external fabric structure over time.
Step 6: How To Store Sleeping Bags Correctly
When packing your gear away long-term, choosing the correct container makes all the difference for preserving thermal efficiency. Never use the small compression sack that came with your original purchase, as those are strictly for temporary travel use. Instead, use a large, breathable cotton storage bag or a specialized mesh sack.
These oversized containers allow the air to circulate freely through the internal insulation without crushing the structure. If you do not own a breathable sack, a simple cotton pillowcase works perfectly as a highly effective, budget-friendly alternative. The primary goal is to keep the material contained and protected from dust while letting it remain as loose and uncompressed as possible inside your closet.
Step 7: Let the Insulation Breathe Freely
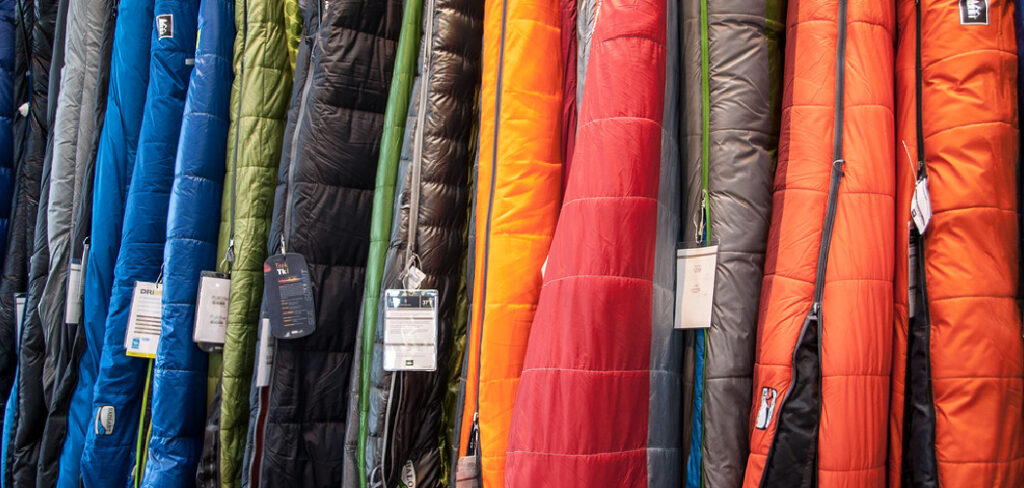
If you have enough dedicated storage space in your home, you can completely ditch the bags and try a highly effective alternative method. Laying the gear flat under a guest bed or hanging it loosely inside a tall closet offers the best possible care. You can drape the fabric gently over a sturdy clothes hanger or use a specialized gear hanger that clips to the bottom loops.
Leaving the item completely uncompressed ensures the internal loft stays thick and bouncy year after year. Just make sure the hanging location stays completely clear of sharp objects or pet claws that might accidentally snag the nylon shell. This maximum-airflow approach guarantees your equipment stays fresh and fully functional.
Frequently Asked Questions (FAQ)
Can I Store My Sleeping Gear In A Plastic Bin?
You should avoid storing your gear in airtight plastic bins or garbage bags. Plastic traps moisture inside the container, which quickly leads to mold and mildew growth. If you must use a plastic tote to protect against pests, ensure you leave the lid cracked open to allow for proper air circulation. A breathable cotton sack remains the safest option.
How Often Should I Wash My Camping Gear?
You should only wash your gear when it becomes noticeably dirty, smells heavily of smoke, or loses its fluffy loft.
- Wash it once a year for regular campers.
- Wash every few years for occasional campers.
Washing too frequently breaks down the delicate insulation. Spot cleaning handles most minor dirt and preserves the overall lifespan of the fabric.
Is Hanging Or Bag Storage Better?
Both hanging and using a large breathable bag represent excellent storage methods. Hanging allows for maximum air circulation and zero compression, making it the ideal choice if you have enough closet space. However, a large mesh or cotton bag works perfectly for keeping dust off the fabric while still letting the insulation breathe comfortably under a bed.
What Should I Do If My Gear Smells Like Mildew?
If you notice a musty odor, you must treat the mildew immediately before it permanently ruins the fabric.
- Mix a small amount of white vinegar with water.
- Gently scrub the affected areas.
- Wash the item thoroughly using an appropriate gear cleaner.
Dry it completely with tennis balls to ensure no residual moisture remains inside the baffles.
Does Down Or Synthetic Insulation Require Different Storage?
Both down feathers and synthetic materials require uncompressed, dry, and cool storage environments. However, down insulation is significantly more sensitive to moisture and compression damage than synthetic options. While synthetic fibers bounce back a bit easier after being compressed, leaving either type stuffed tightly in a travel sack for months will permanently destroy its ability to keep you warm.
Conclusion
Taking care of your camping equipment guarantees a warm and comfortable night during your next big outdoor excursion. By following these simple steps to air out, spot clean, and pack your gear loosely, you successfully protect the delicate insulation from permanent damage. Always prioritize breathability and completely avoid tight compression sacks during the off-season.
Now that you understand exactly how to store sleeping bags, we encourage you to grab your gear and organize your closet today. Implement these easy techniques right away, and your favorite outdoor equipment will stay fluffy, fresh, and fully prepared for countless wild adventures ahead.

About Caleb
Caleb Merritt is a Virginia-based outdoor writer and gear analyst who has spent over a decade sleeping on the ground, crossing mountain passes, and obsessively shaving grams off his pack weight. He holds a Bachelor of Science in Environmental Science from James Madison University, where he also served as president of the university’s outdoor recreation club. After graduating, he spent three years as a wilderness educator with a backcountry youth program in the Shenandoah Valley — teaching Leave No Trace ethics, backcountry navigation, and campcraft — before moving into full-time writing in 2018.
His work focuses on one core belief: the best gear is the gear you understand. Whether he’s doing a side-by-side weight comparison of ultralight shelters or writing a beginner’s guide to building a sub-20-lb base weight kit, Caleb writes with the same directness you’d expect from a trusted trail partner. He has logged more than 4,000 miles across iconic routes including the John Muir Trail, the Wind River Range, Vermont’s Long Trail, and the Collegiate Peaks Loop in Colorado.
Areas of Expertise
- Ultralight backpacking systems and base weight optimization
- Tent, tarp, and shelter testing across three-season and shoulder-season conditions
- Sleeping bag and quilt temperature rating verification
- Backpacking nutrition, meal planning, and calorie-per-ounce analysis
- Leave No Trace principles and wilderness ethics
- Campfire safety, bear country protocols, and water treatment methods
- Gear care, repair, and long-term durability assessment
Education
James Madison University — B.S. in Environmental Science, 2015
During his time at JMU, Caleb served as President of the Outdoor Recreation Club, where he planned and led more than 30 backcountry trips annually across the Blue Ridge Mountains and Appalachian Trail corridor. The role sharpened his ability to assess gear performance under real conditions, manage group safety in remote environments, and develop the kind of practical trail knowledge that no classroom can teach.
Professional Experience
Gear Writer & Senior Contributor — [campeox.com]
Produces in-depth gear reviews, buyer’s guides, and how-to content across backpacking, camping, and ultralight hiking categories. Tests all gear in real field conditions before publishing recommendations.
Wilderness Educator & Trip Leader — Shenandoah Backcountry Youth Program — 2015–2018 Led multi-day backcountry expeditions for teens and young adults throughout Shenandoah National Park and George Washington National Forest. Taught LNT principles, orienteering, first aid awareness, and campcraft fundamentals.
Outdoor Recreation Club President — James Madison University — 2013–2015 Organized and led university-sponsored hiking, backpacking, and camping trips in the Blue Ridge Mountains and Appalachian Trail corridor. Managed club budget, safety protocols, and trip logistics for a membership of 120+ students.
Editorial Standards
Every piece of gear Caleb recommends has been personally tested in the field — not just unboxed and described. His review process includes a minimum of two overnight trips per shelter, a full-season evaluation for sleep systems, and side-by-side comparisons wherever possible. He does not accept payment for positive reviews. Affiliate relationships, where they exist, are always disclosed in accordance with FTC guidelines.
All factual claims about gear specifications, trail distances, and safety recommendations are cross-referenced against manufacturer data sheets and established sources such as the Leave No Trace Center for Outdoor Ethics and the American Hiking Society before publication.