

There is nothing quite like the peaceful sound of rain falling on your campsite, unless those drops start landing directly on your sleeping bag. Waking up to a damp floor and soaked gear can quickly turn an exciting outdoor adventure into a miserable experience. Whether you just bought your first basic shelter or you want to restore an older setup, learning how to rainproof a tent is an essential skill for every outdoor enthusiast.
This straightforward process takes only a little bit of time but provides massive peace of mind when dark clouds roll in over your campsite. In this beginner-friendly guide, we will walk you through everything you need to know to prepare your shelter for wet weather, ensuring you stay warm, dry, and comfortable all night long. Let us get started on protecting your next camping trip from unexpected downpours.
Why Rainproofing Your Tent Matters
You might assume that a brand-new shelter comes perfectly prepared for heavy downpours right out of the box. While manufacturers do apply factory coatings, these treatments naturally degrade over time due to sun exposure, dirt, and general wear and tear. Taking the time to add a fresh layer of protection ensures that your gear performs at its absolute best when you need it most.
Beyond simply keeping you dry, proper maintenance significantly extends the lifespan of your camping equipment. Water damage can lead to mold and mildew, which quickly destroy the fabric and ruin the structural integrity of your shelter. By maintaining your water resistance, you protect your valuable investment and guarantee that your outdoor home remains a safe, cozy haven regardless of the unpredictable weather conditions outside.
7 Step-by-Step Guide on How to Rainproof a Tent
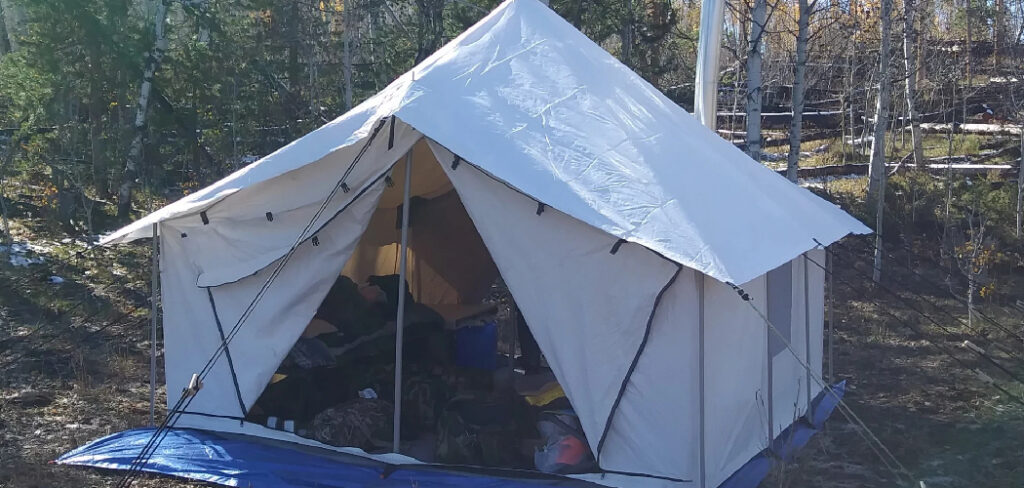
Step 1: Set Up and Inspect the Fabric
The very first phase of this maintenance routine requires pitching your shelter exactly as you would at a campsite. Find a dry, open space in your backyard or a well-ventilated garage to assemble the poles and stake out the corners. Once fully erected, step inside and look closely at the walls, floor, and canopy. You are searching for any obvious signs of wear, tiny holes, or peeling tape along the interior edges. Pay special attention to the floor corners and the rainfly, as these areas face the most severe exposure to pooling moisture. Taking the time to properly examine the material guarantees you will not miss any hidden vulnerabilities once you start applying your defensive treatments.
Step 2: Clean the Exterior and Interior Thoroughly
You cannot apply protective coatings to a dirty surface and expect them to stick properly. Grab a bucket of lukewarm water, a soft sponge, and a specialized outdoor gear cleaner or mild dish soap. Gently scrub away any caked-on mud, bird droppings, or pine sap from the outer canopy and the inner walls.
Never use harsh household chemicals or abrasive brushes, as these will completely strip away any remaining factory protection and permanently damage the delicate nylon or polyester fibers. Rinse the entire structure thoroughly with a garden hose to remove all soapy residue. Allow the material to air dry completely in a shaded area before moving on to the next critical phase of the process.
Step 3: Remove Peeling Seam Tape
The stitched areas connecting the fabric panels are notoriously vulnerable to moisture penetration. Manufacturers apply a special tape over these stitches, but it eventually dries out and flakes off. Carefully inspect the inside of your shelter and the underside of the rainfly for any cracked, peeling, or loose tape.
If you spot these signs of deterioration, gently peel away the damaged sections using your fingers or a soft brush. Do not forcefully rip the tape if it is still firmly attached, as you might tear the underlying fabric. Removing the compromised material creates a smooth, clean canvas so your new liquid sealant can penetrate deeply into the thread holes and create an impenetrable moisture barrier.
Step 4: Apply High-Quality Seam Sealer
Now that the stitching is clean and prepped, it is time to apply your liquid sealant. Purchase a sealer specifically designed for your fabric type, usually polyurethane or silicone. Working on the inside of the fabric, carefully brush a thin, even layer of the liquid over every exposed stitch line.
Make sure to press the applicator deep into the folds where the floor meets the walls, as these corners are famous for pooling water. Keep a clean rag nearby to quickly wipe up any messy drips or excessive puddles of glue. You must let this application cure completely, which typically takes anywhere from twelve to twenty-four hours depending on your local humidity and temperature levels.
Step 5: Refresh the Urethane Coating on the Floor
The floor of your shelter constantly battles ground moisture, making it highly susceptible to flaking. If you noticed the interior floor looking milky or peeling off in thin sheets during your inspection, the old urethane layer is failing. First, scrub away the loose flakes using a mixture of rubbing alcohol and water with a coarse sponge.
Once the floor is totally dry, paint a fresh layer of tent sealant across the entire interior base. Apply the liquid smoothly and consistently, ensuring you cover every square inch of the floor space. This restored barrier will stop damp ground from seeping upward into your sleeping bags, keeping your resting area perfectly dry throughout the night.
Step 6: Spray the Rainfly with Durable Water Repellent
The rainfly acts as the primary shield against falling precipitation, but its exterior needs regular rejuvenation to maintain that crucial beading effect. Understanding how to rainproof a tent properly means paying special attention to this outer layer. Purchase a spray-on durable water repellent designed for outdoor fabrics.
While the rainfly is still pitched and taut, spray the treatment evenly across the entire exterior surface. Work methodically from the top down, holding the bottle a few inches away to ensure complete coverage. Wait a few minutes for the liquid to soak into the fibers, then use a damp, clean cloth to wipe away any excess residue to prevent a sticky or cloudy finish from forming.
Step 7: Allow Everything to Dry Completely
Patience is absolutely critical during this final phase of the restoration project. Even if the surfaces feel dry to the touch, the chemical compounds require significant time to fully bond with the synthetic fibers. Leave your shelter fully pitched in a dry, well-ventilated, and shaded area for at least twenty-four hours.
Never pack up your gear while it is even slightly damp, as trapping moisture inside the storage bag will rapidly breed destructive mold and mildew. Once you are absolutely certain that the seams, floor, and rainfly are completely dry and cured, carefully fold everything up. You can now pack away your freshly treated gear, confident that it will perform flawlessly on your next rainy excursion.
Frequently Asked Questions (FAQ)
How Often Should I Waterproof My Camping Gear?
You should generally treat your camping gear every one to two years, depending entirely on how frequently you use it. If you camp several weekends a month or frequently encounter harsh, sunny conditions, you might need to apply fresh coatings annually. A simple test is to spray water on the exterior; if the water stops beading and begins soaking into the fabric, it is time for a treatment.
Can I Use Regular Fabric Protector On My Gear?
No, you should never use standard household fabric protectors or generic waterproofing sprays on outdoor camping equipment. These everyday products lack the specific chemical formulations needed to bond with specialized nylon or polyester materials. Instead, you must purchase dedicated outdoor gear treatments like durable water repellent and silicone seam sealers. Using the correct products prevents permanent chemical damage.
What Is The Best Weather For Applying These Treatments?
The ideal weather for applying defensive coatings is a clear, dry, and warm day with low humidity. Moderate temperatures, typically between sixty and seventy degrees Fahrenheit, allow the liquid solutions to cure properly. You should avoid applying any sealants in direct, blistering sunlight, as this can cause the chemicals to dry too rapidly and prevent them from fully bonding with the synthetic fibers.
Do I Need To Treat A Brand New Shelter?
While manufacturers do apply factory sealants to fresh products, adding extra protection never hurts. Many experienced campers prefer to seal the seams immediately after purchase as a proactive measure against unexpected leaks.
- Set up the new gear to check for any factory defects.
- Add a light layer of seam sealer to vulnerable corners.
Taking these minor precautions guarantees excellent performance on your inaugural trip.
How Do I Fix A Leak While At The Campsite?
Discovering a leak in the middle of a trip requires immediate action. You should always carry a small repair kit containing gear repair tape and a quick-drying seam sealer. Simply dry the leaking area as thoroughly as possible using a towel or shirt. Apply the repair tape directly over the hole or tear on the inside of the fabric to create an instant, temporary moisture barrier.
Conclusion
Preparing for adverse weather is a fundamental part of becoming a responsible and confident outdoor explorer. By taking the time to inspect your fabric, clean the surfaces, seal the stitching, and apply a fresh layer of durable water repellent, you drastically improve the reliability of your shelter. We covered all the essential techniques, proving that maintaining your equipment does not require specialized tools or expensive professional services.
Now that you understand exactly how to rainproof a tent, you can stop dreading gray skies and start embracing the beauty of nature in all its forms. Grab your sponges, purchase your sealants, and spend an afternoon preparing your gear for the season ahead. Your future self, staying warm and perfectly dry during a midnight downpour, will certainly thank you for the effort.
About Caleb
Caleb Merritt is a Virginia-based outdoor writer and gear analyst who has spent over a decade sleeping on the ground, crossing mountain passes, and obsessively shaving grams off his pack weight. He holds a Bachelor of Science in Environmental Science from James Madison University, where he also served as president of the university’s outdoor recreation club. After graduating, he spent three years as a wilderness educator with a backcountry youth program in the Shenandoah Valley — teaching Leave No Trace ethics, backcountry navigation, and campcraft — before moving into full-time writing in 2018.
His work focuses on one core belief: the best gear is the gear you understand. Whether he’s doing a side-by-side weight comparison of ultralight shelters or writing a beginner’s guide to building a sub-20-lb base weight kit, Caleb writes with the same directness you’d expect from a trusted trail partner. He has logged more than 4,000 miles across iconic routes including the John Muir Trail, the Wind River Range, Vermont’s Long Trail, and the Collegiate Peaks Loop in Colorado.
Areas of Expertise
- Ultralight backpacking systems and base weight optimization
- Tent, tarp, and shelter testing across three-season and shoulder-season conditions
- Sleeping bag and quilt temperature rating verification
- Backpacking nutrition, meal planning, and calorie-per-ounce analysis
- Leave No Trace principles and wilderness ethics
- Campfire safety, bear country protocols, and water treatment methods
- Gear care, repair, and long-term durability assessment
Education
James Madison University — B.S. in Environmental Science, 2015
During his time at JMU, Caleb served as President of the Outdoor Recreation Club, where he planned and led more than 30 backcountry trips annually across the Blue Ridge Mountains and Appalachian Trail corridor. The role sharpened his ability to assess gear performance under real conditions, manage group safety in remote environments, and develop the kind of practical trail knowledge that no classroom can teach.
Professional Experience
Gear Writer & Senior Contributor — [campeox.com]
Produces in-depth gear reviews, buyer’s guides, and how-to content across backpacking, camping, and ultralight hiking categories. Tests all gear in real field conditions before publishing recommendations.
Wilderness Educator & Trip Leader — Shenandoah Backcountry Youth Program — 2015–2018 Led multi-day backcountry expeditions for teens and young adults throughout Shenandoah National Park and George Washington National Forest. Taught LNT principles, orienteering, first aid awareness, and campcraft fundamentals.
Outdoor Recreation Club President — James Madison University — 2013–2015 Organized and led university-sponsored hiking, backpacking, and camping trips in the Blue Ridge Mountains and Appalachian Trail corridor. Managed club budget, safety protocols, and trip logistics for a membership of 120+ students.
Editorial Standards
Every piece of gear Caleb recommends has been personally tested in the field — not just unboxed and described. His review process includes a minimum of two overnight trips per shelter, a full-season evaluation for sleep systems, and side-by-side comparisons wherever possible. He does not accept payment for positive reviews. Affiliate relationships, where they exist, are always disclosed in accordance with FTC guidelines.
All factual claims about gear specifications, trail distances, and safety recommendations are cross-referenced against manufacturer data sheets and established sources such as the Leave No Trace Center for Outdoor Ethics and the American Hiking Society before publication.


